riotwarrior
Full Access Member
Ahhh..damn front tank leaking ugh....sumagum....
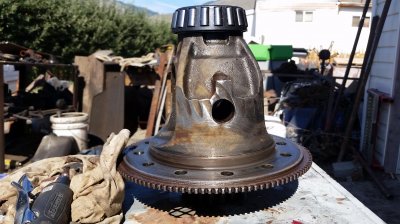
K here is what I located in my parts truck out front w seized engine.
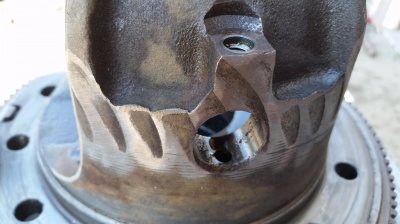
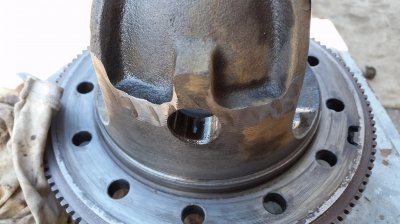
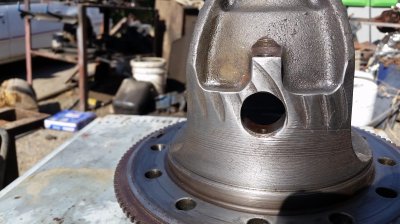
That was after this gem got pulled...
So now I hqve my NP 203 and can work on a doubler for either the NP 205 or a BW 1356 customized with pto front half and fixed yoke rear if so inclined...
Hope to pull leaker tank tomorrow amd install the shiney nice one.
Thanks for looking
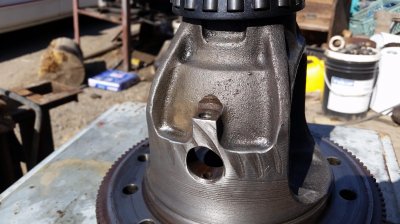
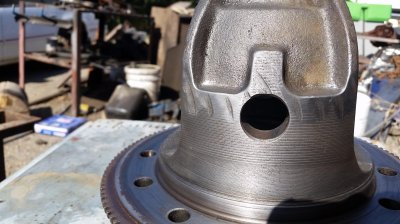
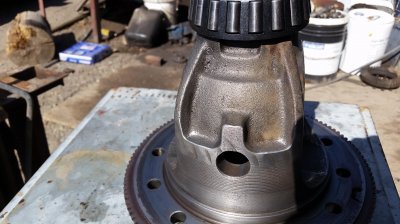
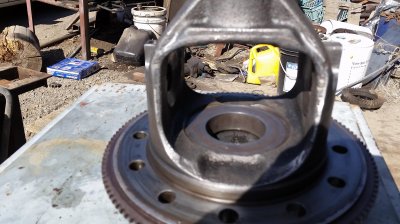
K here is what I located in my parts truck out front w seized engine.
You must be registered for see images attach
You must be registered for see images attach
You must be registered for see images attach
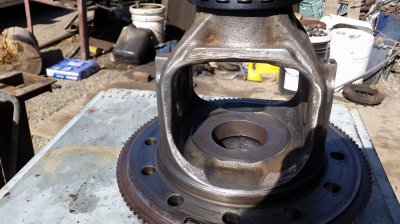
That was after this gem got pulled...
You must be registered for see images attach
So now I hqve my NP 203 and can work on a doubler for either the NP 205 or a BW 1356 customized with pto front half and fixed yoke rear if so inclined...
Hope to pull leaker tank tomorrow amd install the shiney nice one.
Thanks for looking