Bronco Fuel Tank Install

snicklas

6.0 and Loving It!!
Staff member
Joined
Aug 7, 2006
Posts
6,164
Reaction score
2,342
Location
Greenfield, Indiana
One of my favorite quotes from AvE

"Grinder and paint, make me the welder I ain't"

Not saying this applies in this case.... but whenever I see welding and then painted... this is what pops into my head.....

Just like over in Chris's LoBoy Tread......
 

IDIBRONCO

IDIBRONCO
Joined
Feb 5, 2010
Posts
12,235
Reaction score
10,925
Location
edmond, ks
Nothing wrong with that thought. I only used the paint to try to hold off rust for as long as I can.
 

IDIBRONCO

IDIBRONCO
Joined
Feb 5, 2010
Posts
12,235
Reaction score
10,925
Location
edmond, ks
Well in case any one has been wondering, I did get the straps under the Bronco tank today and it's still in place after carrying 20 gallons of fuel 20 miles home from the gas station. Between the heat, mowing and spraying my yard yesterday, and my recent tendency to not be able to sleep well, I just hadn't dome anything to it for a while. The plan for tomorrow is to start the e-pump install, but first, I have to get the elbow into place in the filler neck. This is how I'm going to get the fuel from the rear tank into the front tank. Similarly to the way that I ran the vent line into the rear filler neck. Since I wanted to fill the front tank while I was at the gas station, I didn't try a big nozzle, but the rear filler neck easily took all that the small nozzle could throw at it. That's a bonus right there even if it won't take a big nozzle. So at least the tank install itself was a success. I'm going to go ahead and throw the e-pump install into this thread since it's closely related to the tank install.

You must be registered for see images attach


You must be registered for see images attach


You must be registered for see images attach
 

IDIBRONCO

IDIBRONCO
Joined
Feb 5, 2010
Posts
12,235
Reaction score
10,925
Location
edmond, ks
No I haven't forgotten about this. Yesterday, I was so completely wore out after work that I came home and went to sleep on the couch for about an 1 1/2 hours. Today it was 107* when I left work at 4:00 so NOPE! Not working on it today. Tomorrow is supposed to be back in the double digits. Fingers crossed.
 

IDIBRONCO

IDIBRONCO
Joined
Feb 5, 2010
Posts
12,235
Reaction score
10,925
Location
edmond, ks
All I managed to get done on this today was to mount the Carter P4070 transfer pump. I didn't care for the location, but I didn't see any place the looked better/easier. It's mounted on the outside of the frame in front of the driver's side rear tire. If I was to do this over again, I would mount it about 6" back. Drilling the holes through the frame wasn't the easiest thing to do right here. I wasn't able to get the supplied lock washers on the mounting bolts, but that was not a problem. I have red Lock Tite. I did the same thing to the nuts that hold the pump to the mounting plate. I tried to be smart/extra careful so I wrapped electrical tape around the pump to hole the plastic plugs into the threaded holes for the fittings,but it didn't stay for the 15 miles drive home. Both plugs are still there so I'm not too worried about the tape. I'm hoping to get the rest of the plumbing done and power it up tomorrow.
 

Attachments

  • 003.JPG
    003.JPG
    366.9 KB · Views: 9
  • 004.JPG
    004.JPG
    279.4 KB · Views: 9

subway

be nice to the admin :D
Joined
Oct 4, 2006
Posts
6,542
Reaction score
1,038
Location
York PA
It might be worth adding a plastic shield to the pump. I know you are not in the rust belt, but dirty water from rain and puddles thrown on the pump with random rocks off the tire wont help the pump or the contacts if moister gets in. looking good with steady progress.
 

IDIBRONCO

IDIBRONCO
Joined
Feb 5, 2010
Posts
12,235
Reaction score
10,925
Location
edmond, ks
I've thought about that. I decided against it since it's not the primary fuel supply for the engine. I will put some dielectric grease on the contacts before installing the wires permanently. It was shipped with a plastic cover over the bottom of the pump and contacts. I do think that I will glue it back in place after I know that everything works. Of course I will make some drain holes in the bottom first.
 

typ4

Supporting Member
Supporting Member
Joined
Dec 24, 2005
Posts
9,093
Reaction score
1,372
Location
Newberg,OR
Not a good idea to lay the fuel line on the tank bottom.
Diesel eats RTV.
I get 35 gallons when clear empty in my bronco tanks.

I guess I should have documented my mods, nylon truck air brake hose is your friend for extending the pickup.
 

IDIBRONCO

IDIBRONCO
Joined
Feb 5, 2010
Posts
12,235
Reaction score
10,925
Location
edmond, ks
Today, I got distracted, but I did get the pump plumbed in. I started by removing the front filler neck and making a hole to mount the black pipe 1/4" NPT street elbow. I wanted all brass, but that's what was available at the time, so I bought it. I bought the black pipe because I've seen people say that you don't want to use galvanized.
 

Attachments

  • 001.JPG
    001.JPG
    379.4 KB · Views: 3
  • 002.JPG
    002.JPG
    419.6 KB · Views: 3

IDIBRONCO

IDIBRONCO
Joined
Feb 5, 2010
Posts
12,235
Reaction score
10,925
Location
edmond, ks
I was going slowly with a step bit so that I would have the tightest fit possibly between the filler neck and the street elbow. As I worked up from 3/8" to 1/2", I first thought that one more size larger would do the trick , but then the light bulb came on. As close of a fit as this was and as thin as the metal of the filler neck is, I tried to thread the elbow into the hole AND IT ACTUALLY WORKED!!! It didn't thread in perfectly square, but that part didn't matter much to me. A little JB Weld, a few hours of sitting in the sun and it was ready for the brass barbed fitting.
 

Attachments

  • 003.JPG
    003.JPG
    469.5 KB · Views: 4
  • 004.JPG
    004.JPG
    393.5 KB · Views: 4
  • 005.JPG
    005.JPG
    394.7 KB · Views: 4

IDIBRONCO

IDIBRONCO
Joined
Feb 5, 2010
Posts
12,235
Reaction score
10,925
Location
edmond, ks
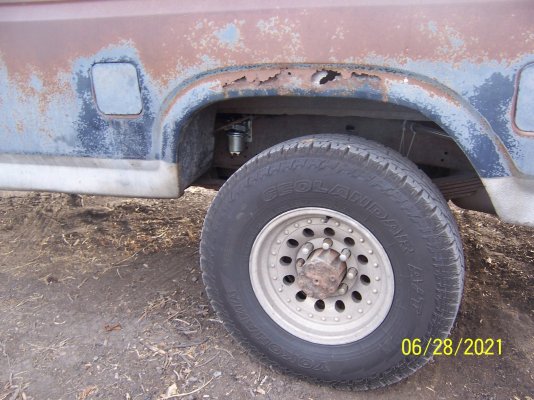
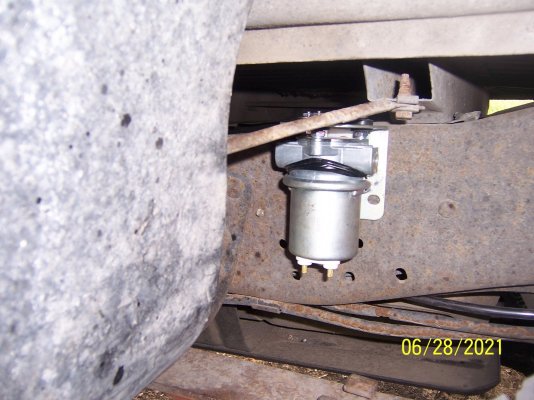
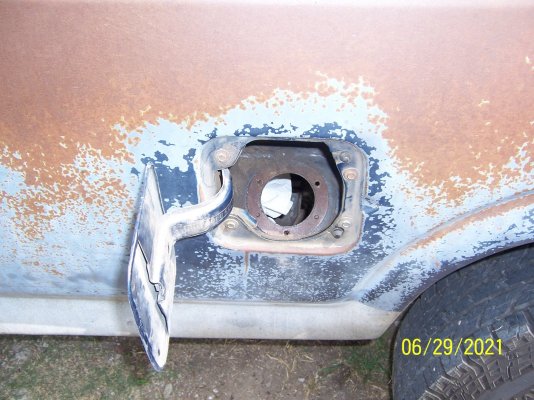
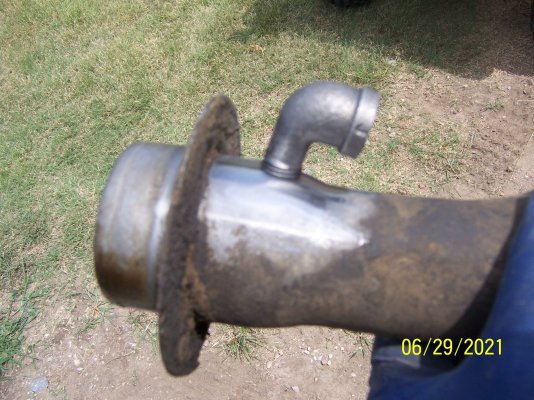
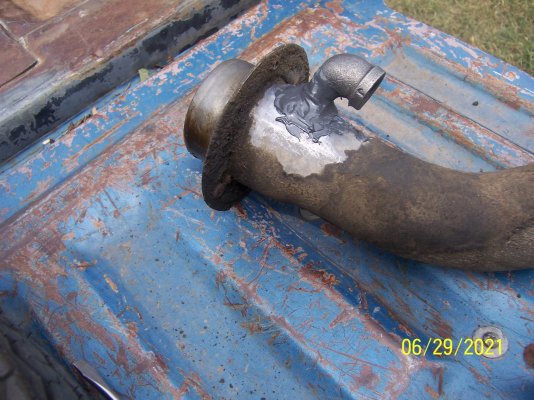
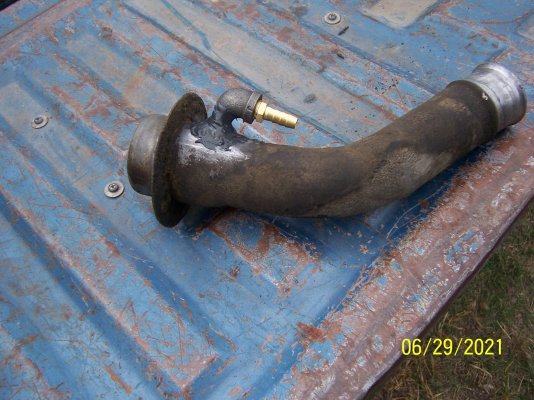
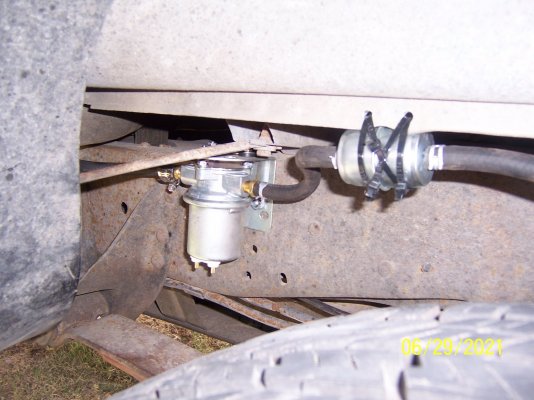
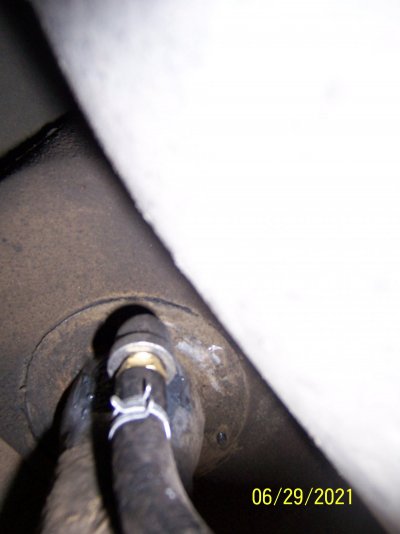
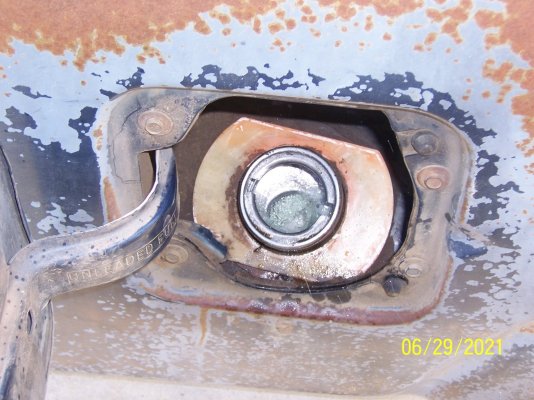
I finally got to install the filler neck back into the truck. I was wanting to finish up and go home, but I didn't have a real good idea for mounting the filter so I improvised. I don't like it, but it works for now. After I was done, I had a much better idea for mounting the filter so I'll go back and change it later because I don't have what I need to make the mount. This isn't a high dollar, high flowing filter, but I'm only trying to fill the front tank, not run the engine off of this set up. It will be just fine for me. I didn't have the time to wire up the pump, but I wanted to at least try it out. I grabbed a pair of jumper cables and got them hooked to the pump wires. As I was doing this, I was hoping that this is a self priming pump. It sure is. I think it took all of three seconds for the sound of the pump to change when the fuel hit it. It's hard to tell in the picture that I took, but there is fuel flowing into the filler neck from the E pump. Standing back and looking, it's easy to see the bronco tank under the back of the truck. Boy, does it look good!
 

Attachments

  • 006.JPG
    006.JPG
    266 KB · Views: 12
  • 007.JPG
    007.JPG
    144.5 KB · Views: 12
  • 008.JPG
    008.JPG
    313.1 KB · Views: 12
  • 009.JPG
    009.JPG
    427.2 KB · Views: 12

KansasIDI

Hopelessly addicted to IDIs
Supporting Member
Joined
Jan 21, 2023
Posts
1,143
Reaction score
932
Location
Wilsey, KS
So I do wonder, what tank it is that I have? Thought it was a 38 gallon, but may be smaller, and it is plastic? So… wonder what size it really is… has a skidplate which IMO is a must, especially in the precarious places my trucks wind up in… would hate to punch a hole in the bottom of the tank… that would be bad…
 

Latest posts

Forum statistics

Threads
91,217
Posts
1,128,504
Members
24,045
Latest member
Ramtough01
Top