For the boost line to the wastegate actuator, you will have more fun leaving it the way the PO has it.

It's already deleted and they obviously were intentional about it, plugging the turbo housing outlet and the oil gauge tee off the oil supply...they probably ran it like that for a while and had a good time doing it.
As stated the upper limit is generally considered 15psi without studs, this is conservative since many have done just great up to 20psi but not everyone.
The waste gate will actually start to blow open at 10-12 psi and won't really let you hold 15psi even if you have the fuel for it. Mine is setup like yours and I can occasionally hold 15 towing or with my big cabover camper on but it's rare. Usually I'm around 12-13psi WOT.
This is with a maxed out IP, charge air cooling and a big honkin' air filter.
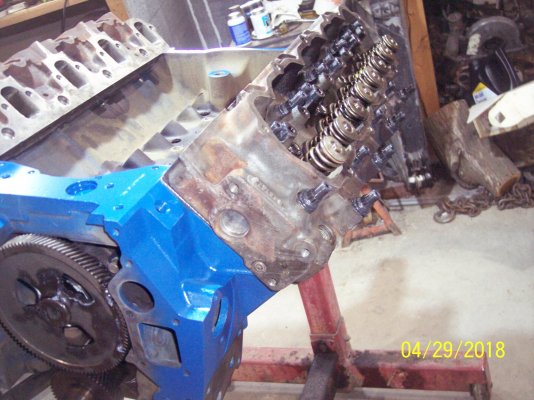
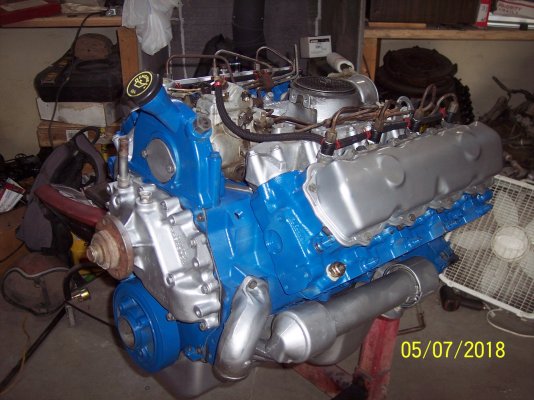
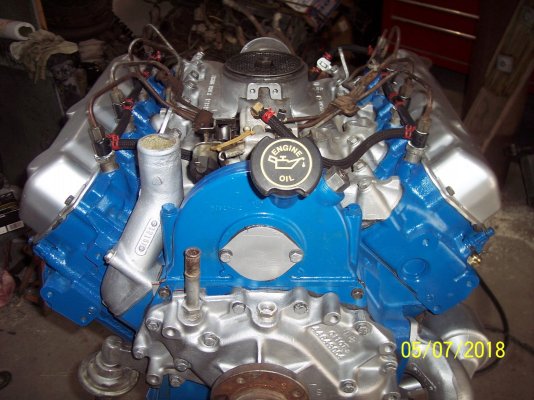
BTW have fun with the turbo grommet...what a PITA for a stupid rubber piece. Just don't forget to put the turbo and intake hat together at the same time 3 times like I did... you can't get them together once one or the other is bolted down. They have to go together loose first. Although I never considered taking off the compressor housing till just now but that's a lot of awkward angles and work too.
That was one big reason I moved up to charge air cooling!
")