GOOSE
Happy IDI'er
Gettin' Closer
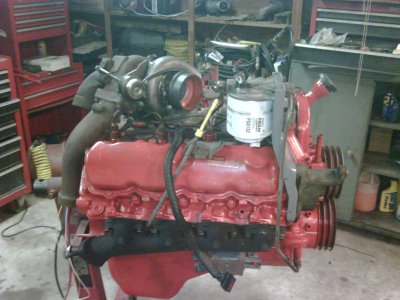
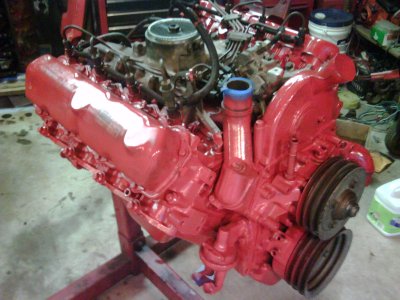
I'm going to clean and rebuild another oil cooler since they gave my the O-rings in the master gasket kit. Paint and install that. I usually mount the fuel filter assembly and the vaccum pump on the stand as they never got in my way during the install. Motor mounts and I think it will be ready for the hook after that. Trans adapter, flywheel, clutch, install.
Am I missing anything?
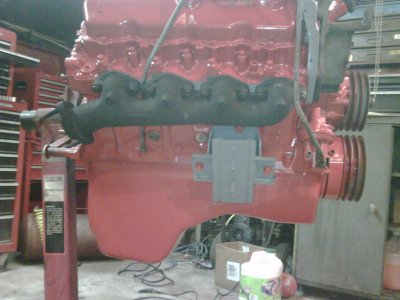
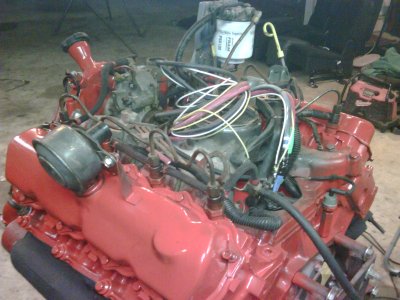
I am ashamed of the paint job I really wanted to protect that clean bare block, that was the main goal.
I'm going to clean and rebuild another oil cooler since they gave my the O-rings in the master gasket kit.
Paint and install that. I usually mount the fuel filter assembly and the vaccum pump on the stand as they never got in my way during the install. Motor mounts and I think it will be ready for the hook after that. Trans adapter, flywheel, clutch, install.Am I missing anything?
I am ashamed of the paint job
I really wanted to protect that clean bare block, that was the main goal.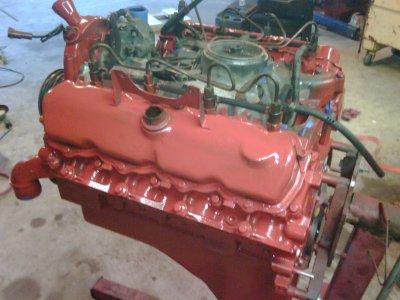
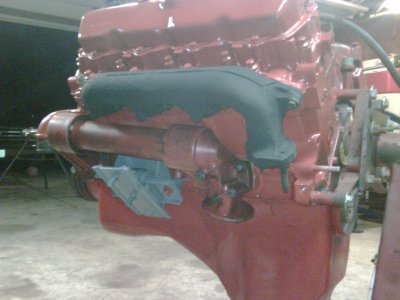
 Too bad I already learned this the hard way


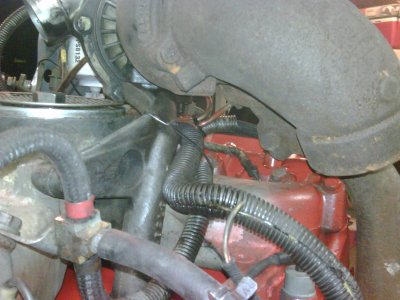
 So I tried to back out the bolts that felt tight... Nope... turns out they went thru the flange and bottomed out on the chamfer of the rear main bearing rolling the first thread.... No I'm really mad... I worked them out easily turning and turning hoping I didn't pull the threads out of the crank.... I got them out but the bolt threads were damaged. I chased the threads but still bad so I ground off the last thread... No more problems. Some members here had the needed spacer so I bought three of them.... Just in case down the line someone needs one.... Ford no longer makes them... I did a nationwide search for just one... Nope.... Even AAMCO couldn't get me one... Now all the shops that rebuild these idi blocks must have a huge pile of them somewhere... Sometimes we have some members that really don't see the thin line between the crank flange and the spacer. Then they try to install a flywheel or flexplate and it wont fit... Gees... thats an easy fix. Just a hammer tap and it falls off.
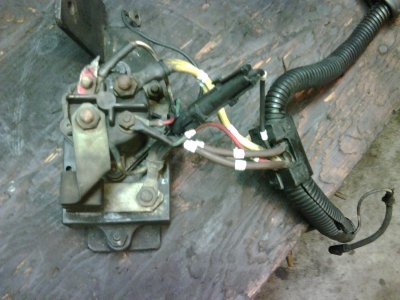
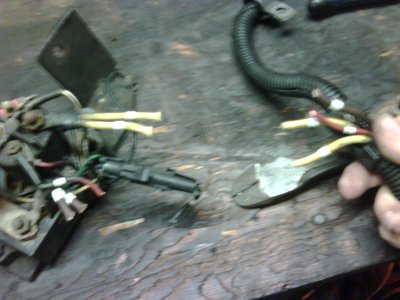
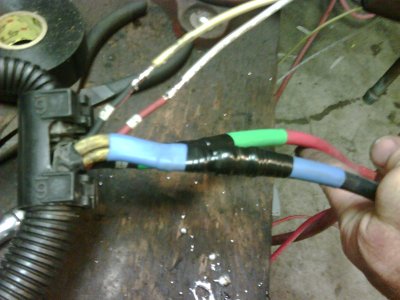
 I was sick of the 20 some degrees of steering wheel play and do not have the dough for a Borgeson unit right now.
 5:00am comes early