david85
Full Access Member
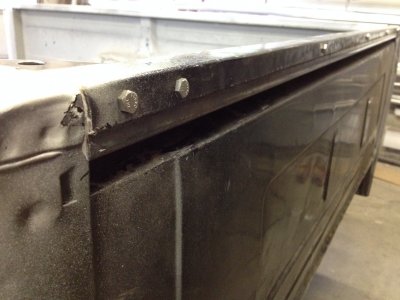
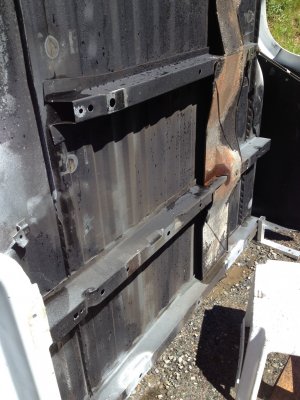
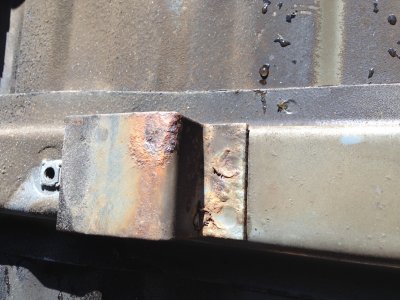
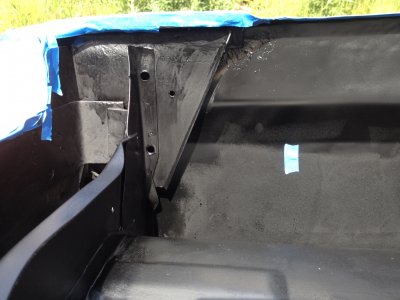
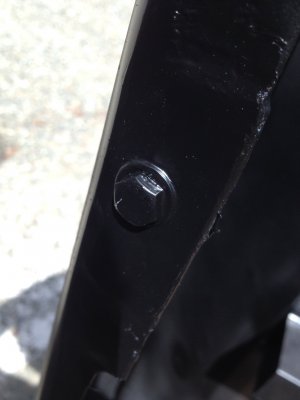
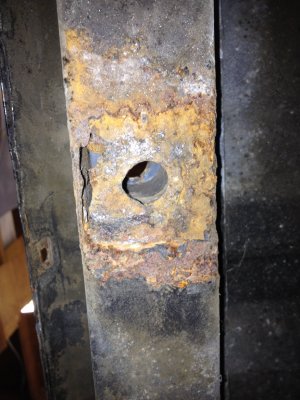
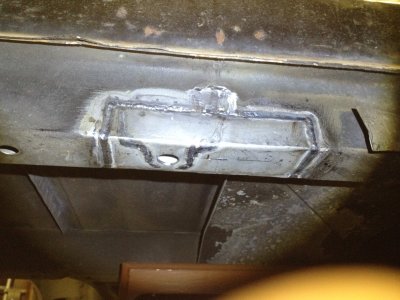
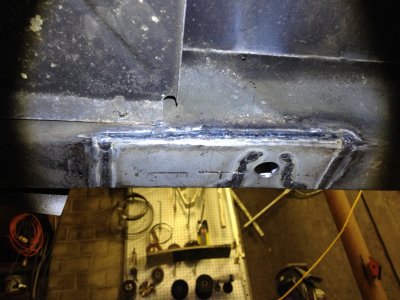
Well, I found some more rust to cut out . The front mounts are both cracked and rusty.
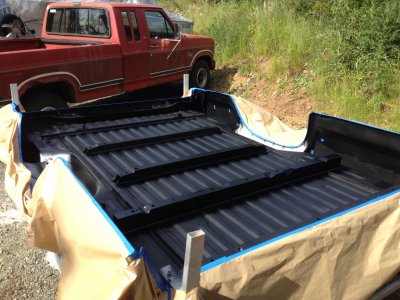
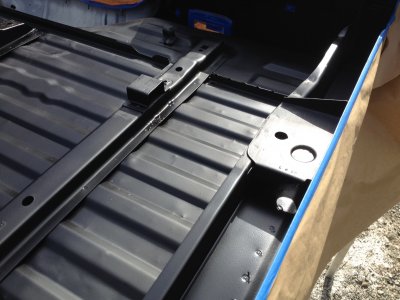
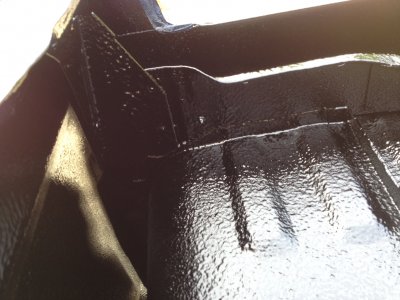
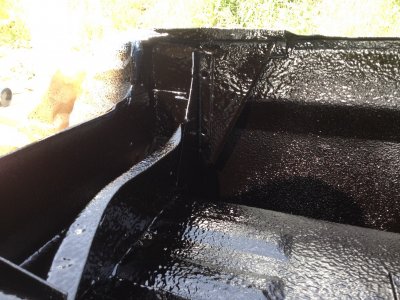
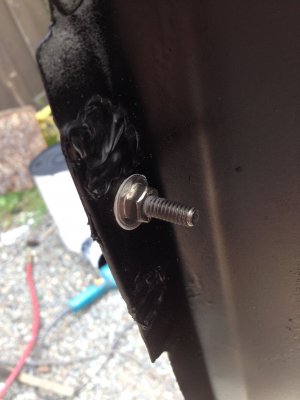
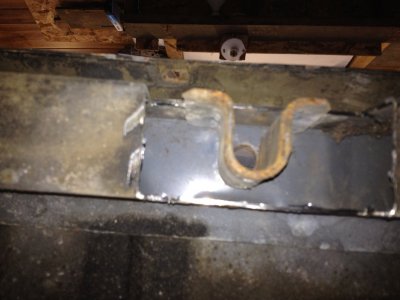
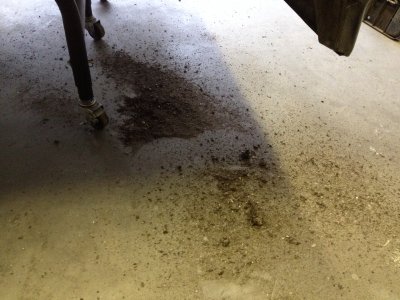
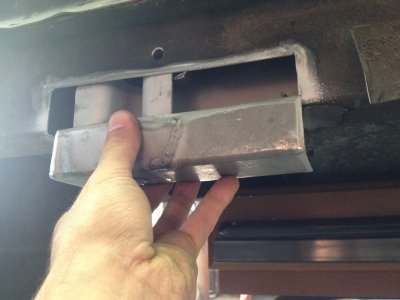
Here's another defect in ford's design; The front of the box drains into the front cross beam. This allows plenty of dirt to pile up inside the beam and there is only one drain hole for it to get out. And no, you can't even get in there with a hose or pressure washer because the internal bolt spacers block off access from either end. Oh well. At least I won't have to make it look mirror smooth like the box sides. The rest of the inside beam looked fine once I blew all the dirt out. Nice clean grey factory primer.
. The front mounts are both cracked and rusty.Here's another defect in ford's design; The front of the box drains into the front cross beam. This allows plenty of dirt to pile up inside the beam and there is only one drain hole for it to get out. And no, you can't even get in there with a hose or pressure washer because the internal bolt spacers block off access from either end. Oh well. At least I won't have to make it look mirror smooth like the box sides. The rest of the inside beam looked fine once I blew all the dirt out. Nice clean grey factory primer.
 )
)