FORDF250HDXLT
The life of an Indian is like the wings of the air
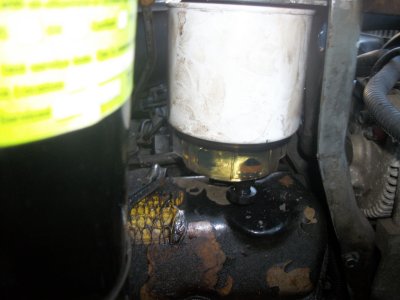
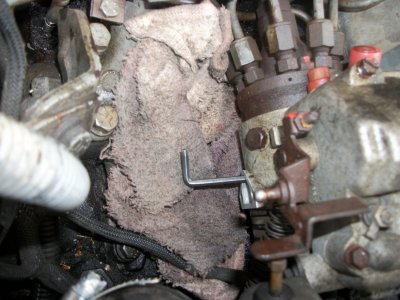
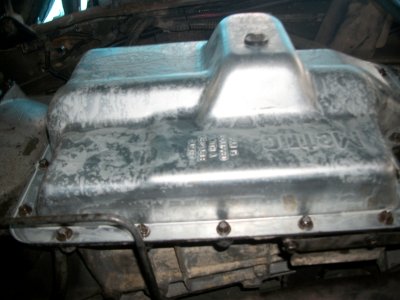
now,your half way home to a flush.be silly not to drain that converter and just do the complete job at this time.
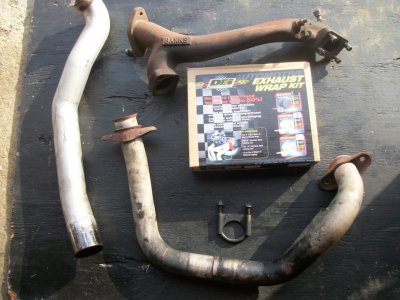
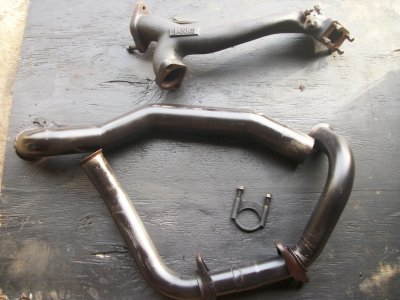
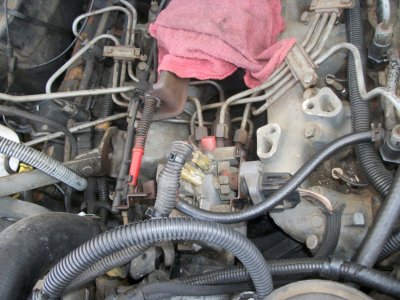
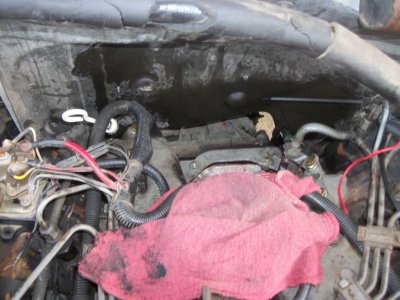
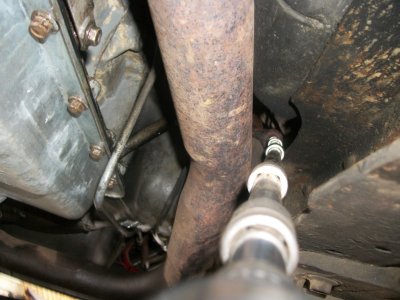
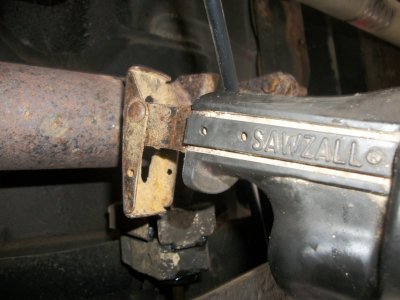
if your lucky,the previous owner (or yourself) already did you a solid and didn't re-install that stupid shield bolt up by the starter.if it's still there.....i feel for ya.i left mine out last time i replaced my starter on chip truck.someone already did me the favor on this truck (yeah baby!)
so simply turn out the two at the bottom and and using an extension it does get that one up on the other side even though the exhaust does look directly in the path.use a wrench if you have too.
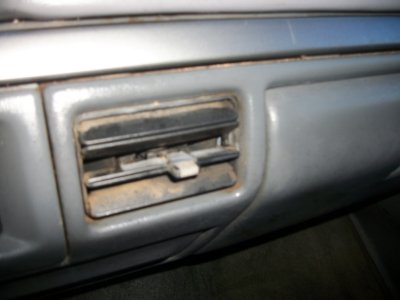
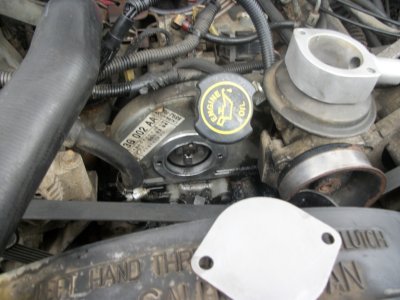
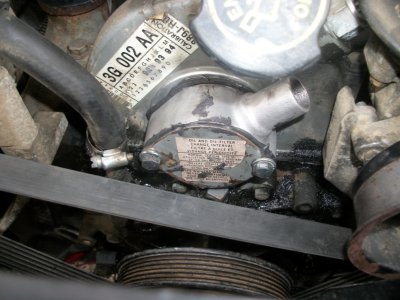
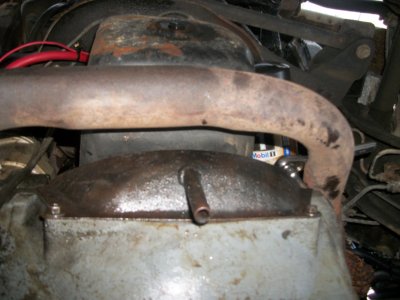
next,caution: though it's not likely (odds are so low it's silly) go ahead and just pull the FSS off on the IP just for extra safety......oh just do it.it'll take a ya 5 seconds.
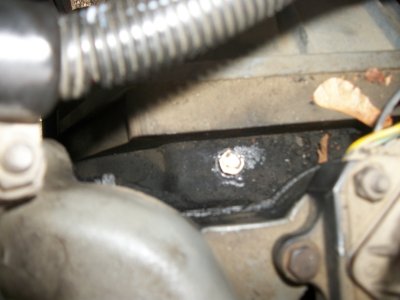
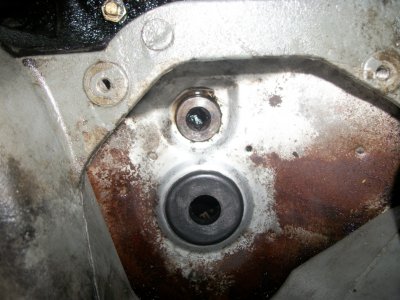
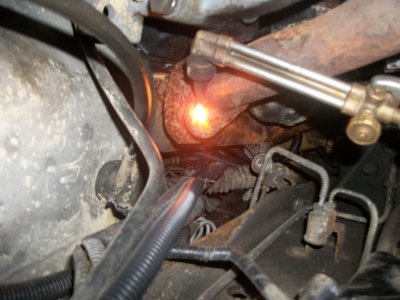
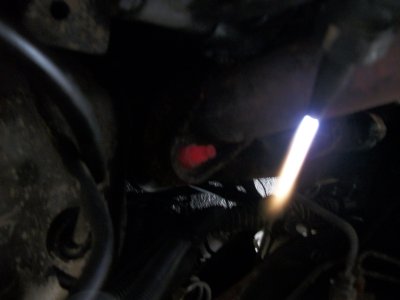
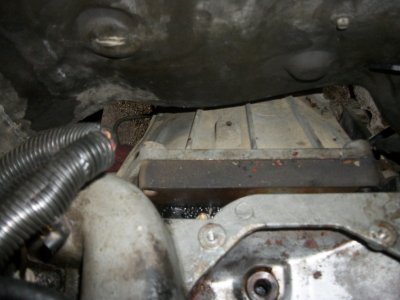
grab a 5/16 socket with 1/2 drive ratchet and turn the engine over while you keep looking for the drain on the converter.drain 'er out.go grab a cup of joe.it takes a while.


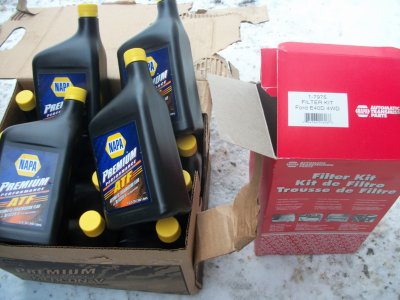
fill her up! get ready for approx 18 quarts for the 4wd version.
i only grabbed 14 quarts as shown cus i thought for sure i had like 6 left over from a case or something.i looked all around and couldn't find it.i had to run out for more.so check to see what you have on hand first lol.
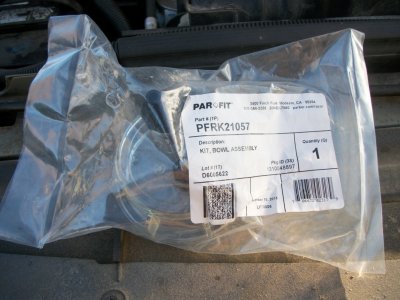
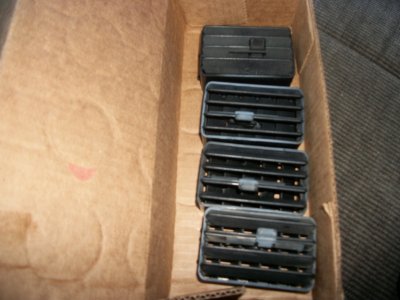
if using a 4r100 pan,be sure to always ask for a 4wd filter from now on,even if you own a 2wd truck.


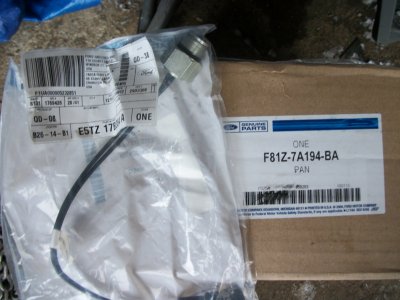
the small package is unrelated.it's a replacement tach sensor.the large box below is the 4r100 pan part #.
these are "4wd" depth and require a "4wd" filter asked at stores from now on.don't try and explain what you did unless you want to shoot the breeze for a while and confuse the counter person lmao.
for me nothing changed anyway so nothing to remember.my chip truck is a 4wd anyway,and the f-super all use the 4wd trans (due to the parking brake.)
for you 2wd guys,don't forget "4wd" from now on if you use this pan.

torque specs:
pan: 10-12 ft lbs.
valve bodies and pack: 80 - 100 Inch lbs
took her for a little test run............much better.she doesn't have the nice solid lockup like chip truck with the front pump mods of course,but im not pulling a trans for that.not in the cold anyway.this is nice.real nice.shifts are "for sure there" while normal driving,unlike before "did that upshift? i missed it?" and "yup i feel ya baby,lets go to work" when feeding her some oil.
now,your half way home to a flush.be silly not to drain that converter and just do the complete job at this time.
if your lucky,the previous owner (or yourself) already did you a solid and didn't re-install that stupid shield bolt up by the starter.if it's still there.....i feel for ya.i left mine out last time i replaced my starter on chip truck.someone already did me the favor on this truck (yeah baby!)
so simply turn out the two at the bottom and and using an extension it does get that one up on the other side even though the exhaust does look directly in the path.use a wrench if you have too.
next,caution: though it's not likely (odds are so low it's silly) go ahead and just pull the FSS off on the IP just for extra safety......oh just do it.it'll take a ya 5 seconds.
grab a 5/16 socket with 1/2 drive ratchet and turn the engine over while you keep looking for the drain on the converter.drain 'er out.go grab a cup of joe.it takes a while.
fill her up! get ready for approx 18 quarts for the 4wd version.
i only grabbed 14 quarts as shown cus i thought for sure i had like 6 left over from a case or something.i looked all around and couldn't find it.i had to run out for more.so check to see what you have on hand first lol.
if using a 4r100 pan,be sure to always ask for a 4wd filter from now on,even if you own a 2wd truck.
the small package is unrelated.it's a replacement tach sensor.the large box below is the 4r100 pan part #.
these are "4wd" depth and require a "4wd" filter asked at stores from now on.don't try and explain what you did unless you want to shoot the breeze for a while and confuse the counter person lmao.
for me nothing changed anyway so nothing to remember.my chip truck is a 4wd anyway,and the f-super all use the 4wd trans (due to the parking brake.)
for you 2wd guys,don't forget "4wd" from now on if you use this pan.
torque specs:
pan: 10-12 ft lbs.
valve bodies and pack: 80 - 100 Inch lbs
took her for a little test run............much better.she doesn't have the nice solid lockup like chip truck with the front pump mods of course,but im not pulling a trans for that.not in the cold anyway.this is nice.real nice.shifts are "for sure there" while normal driving,unlike before "did that upshift? i missed it?" and "yup i feel ya baby,lets go to work" when feeding her some oil.
hope your enjoying the log truck show here on channle 444.stay tuned for the next round.
merry Christmas boys!
if your lucky,the previous owner (or yourself) already did you a solid and didn't re-install that stupid shield bolt up by the starter.if it's still there.....i feel for ya.i left mine out last time i replaced my starter on chip truck.someone already did me the favor on this truck (yeah baby!)
so simply turn out the two at the bottom and and using an extension it does get that one up on the other side even though the exhaust does look directly in the path.use a wrench if you have too.
next,caution: though it's not likely (odds are so low it's silly) go ahead and just pull the FSS off on the IP just for extra safety......oh just do it.it'll take a ya 5 seconds.
grab a 5/16 socket with 1/2 drive ratchet and turn the engine over while you keep looking for the drain on the converter.drain 'er out.go grab a cup of joe.it takes a while.
fill her up! get ready for approx 18 quarts for the 4wd version.
i only grabbed 14 quarts as shown cus i thought for sure i had like 6 left over from a case or something.i looked all around and couldn't find it.i had to run out for more.so check to see what you have on hand first lol.
if using a 4r100 pan,be sure to always ask for a 4wd filter from now on,even if you own a 2wd truck.
the small package is unrelated.it's a replacement tach sensor.the large box below is the 4r100 pan part #.
these are "4wd" depth and require a "4wd" filter asked at stores from now on.don't try and explain what you did unless you want to shoot the breeze for a while and confuse the counter person lmao.
for me nothing changed anyway so nothing to remember.my chip truck is a 4wd anyway,and the f-super all use the 4wd trans (due to the parking brake.)
for you 2wd guys,don't forget "4wd" from now on if you use this pan.
torque specs:
pan: 10-12 ft lbs.
valve bodies and pack: 80 - 100 Inch lbs
took her for a little test run............much better.she doesn't have the nice solid lockup like chip truck with the front pump mods of course,but im not pulling a trans for that.not in the cold anyway.this is nice.real nice.shifts are "for sure there" while normal driving,unlike before "did that upshift? i missed it?" and "yup i feel ya baby,lets go to work" when feeding her some oil.
now,your half way home to a flush.be silly not to drain that converter and just do the complete job at this time.
if your lucky,the previous owner (or yourself) already did you a solid and didn't re-install that stupid shield bolt up by the starter.if it's still there.....i feel for ya.i left mine out last time i replaced my starter on chip truck.someone already did me the favor on this truck (yeah baby!)
so simply turn out the two at the bottom and and using an extension it does get that one up on the other side even though the exhaust does look directly in the path.use a wrench if you have too.
next,caution: though it's not likely (odds are so low it's silly) go ahead and just pull the FSS off on the IP just for extra safety......oh just do it.it'll take a ya 5 seconds.
grab a 5/16 socket with 1/2 drive ratchet and turn the engine over while you keep looking for the drain on the converter.drain 'er out.go grab a cup of joe.it takes a while.
fill her up! get ready for approx 18 quarts for the 4wd version.
i only grabbed 14 quarts as shown cus i thought for sure i had like 6 left over from a case or something.i looked all around and couldn't find it.i had to run out for more.so check to see what you have on hand first lol.
if using a 4r100 pan,be sure to always ask for a 4wd filter from now on,even if you own a 2wd truck.
the small package is unrelated.it's a replacement tach sensor.the large box below is the 4r100 pan part #.
these are "4wd" depth and require a "4wd" filter asked at stores from now on.don't try and explain what you did unless you want to shoot the breeze for a while and confuse the counter person lmao.
for me nothing changed anyway so nothing to remember.my chip truck is a 4wd anyway,and the f-super all use the 4wd trans (due to the parking brake.)
for you 2wd guys,don't forget "4wd" from now on if you use this pan.
torque specs:
pan: 10-12 ft lbs.
valve bodies and pack: 80 - 100 Inch lbs
took her for a little test run............much better.she doesn't have the nice solid lockup like chip truck with the front pump mods of course,but im not pulling a trans for that.not in the cold anyway.this is nice.real nice.shifts are "for sure there" while normal driving,unlike before "did that upshift? i missed it?" and "yup i feel ya baby,lets go to work" when feeding her some oil.
hope your enjoying the log truck show here on channle 444.stay tuned for the next round.
merry Christmas boys!
Attachments
-
 23 ready the pack.jpg562.6 KB · Views: 403
 -
 29 pan install.jpg596.8 KB · Views: 396
 -
 30 drain converter.jpg765.5 KB · Views: 500
 -
 31. shield.jpg616.4 KB · Views: 504
 -
 32 fill it up .jpg733.8 KB · Views: 499
 -
 33 atf and filter .jpg700.4 KB · Views: 502
 -
 34 new pan and tach sensor.jpg644.8 KB · Views: 495
Last edited: