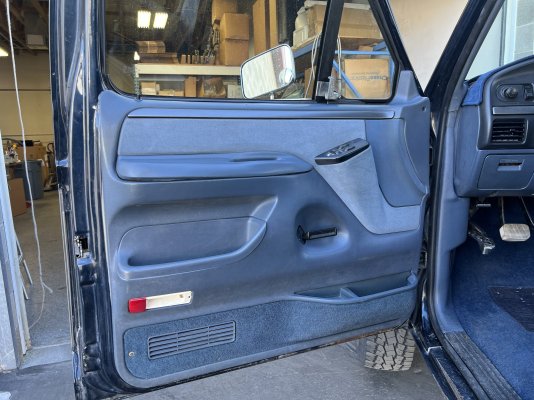
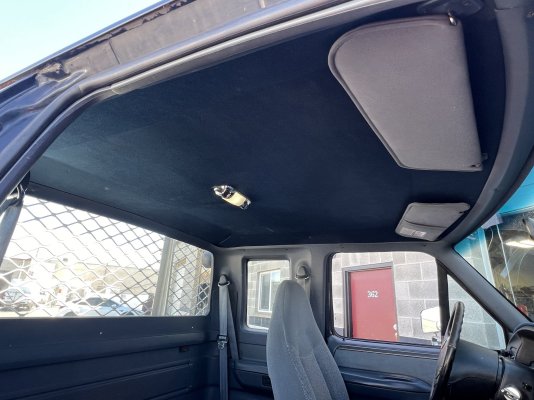
Noise abatement?

offroad-anarchy

Registered User
Joined
Feb 6, 2026
Posts
36
Reaction score
48
Location
somewhere in UT, MT, ID or WY
I may dig into doing this soon.
I also need to repair/replace my seatbelt retractor. I tired to take off the body plastics to get at it but I bailed out for fear of breaking it. Any advice on getting that piece off would be greatly appreciated.
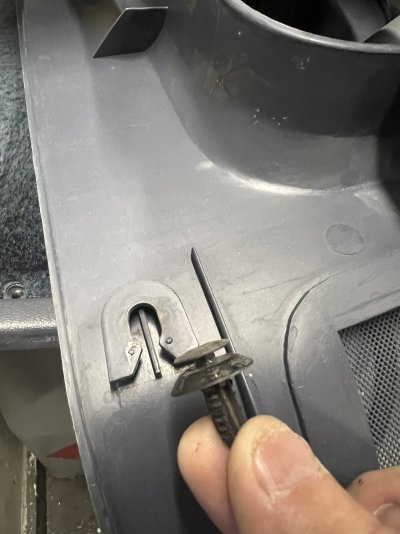
There are these press fit connectors around the rear side windows that need to be replaced and pried out. Mine were old and broke off or came out pretty easily. Sort out were those attachments are and work them carefully.

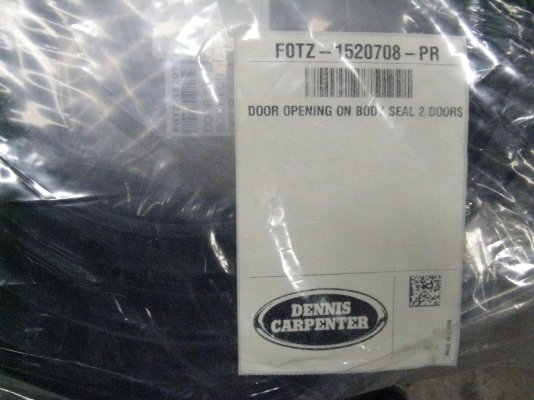
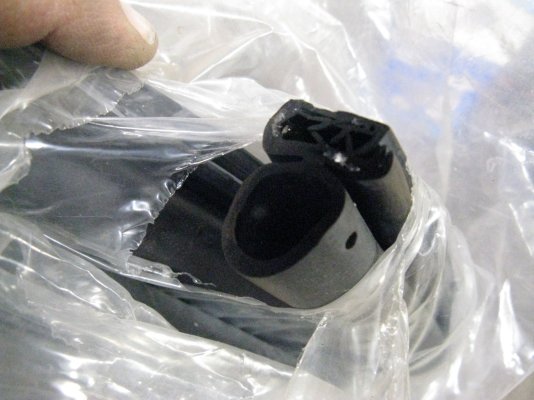
It’s tougher material then you think, I would buy new outer door seal also and do it at the same time.
I already have new window and door seals all the way around :)

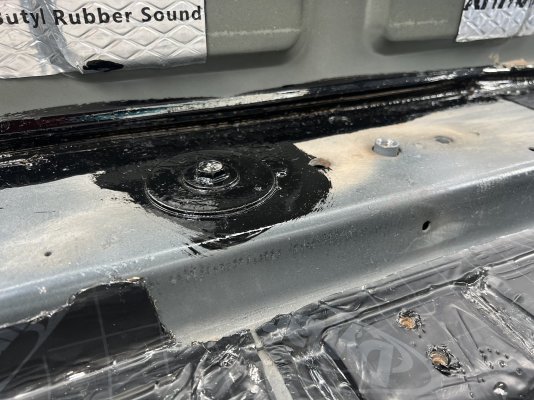
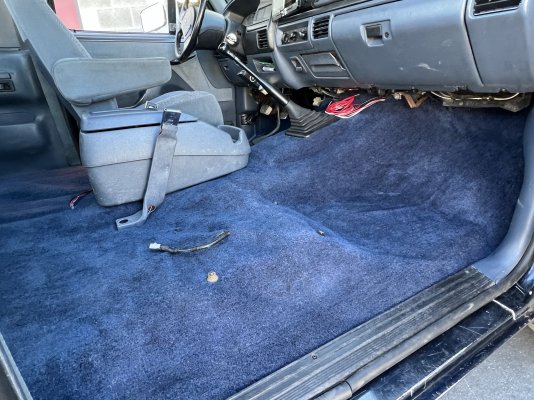
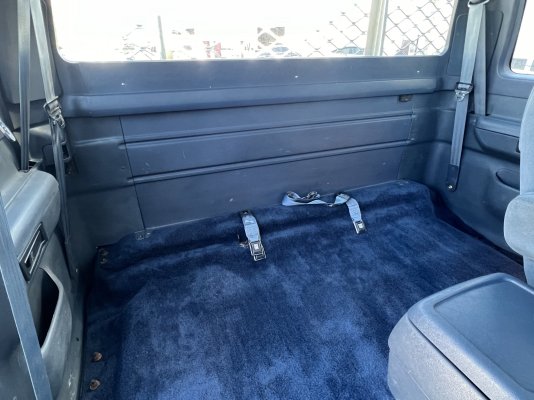
Just another suggestion, I'd cut out the cab mount trap door & expose the bolt head in the back before you lay the carpet down, it could save you a headache if you ever have to swap out the mounts.

Besides that, it's a beautiful job!
I think mine on the supercab are already exposed under the carpet and the rear seat.

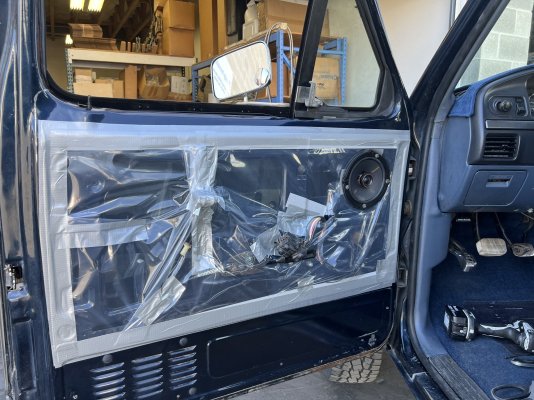
Kinda getting it together !!!
 

Attachments

  • IMG_0972.JPG
    IMG_0972.JPG
    241.2 KB · Views: 9
  • IMG_0970.JPG
    IMG_0970.JPG
    373.2 KB · Views: 10
  • IMG_0966.JPG
    IMG_0966.JPG
    487.6 KB · Views: 9

catbird7

Full Access Member
Joined
Feb 15, 2011
Posts
1,663
Reaction score
1,406
Location
PA
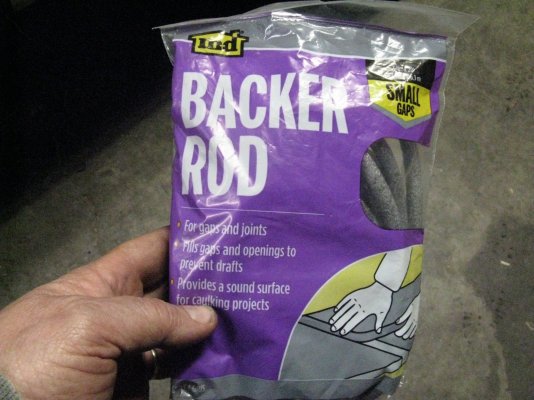
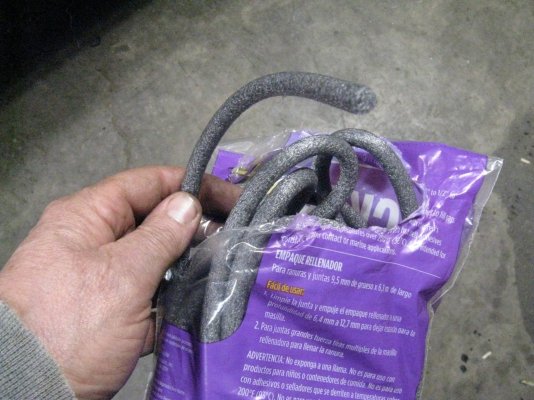
You can extend the life of older door seals and or make new seals that much better by adding "backer rod foam" to the hollow cavity built into the seal. installation was a little tricky if memory serves, its gotta be dry, and i remember using baby powder. Suck a small string thru length of seal with shop vac. Attach backer rod to the string and pull thru seal while sprinkling baby powder on the backer rod. Patience and a couple cold snacks are things to keep handy. Creates an awesome seal around doors! You know the kinda that forces you to crack a window open before closing the door! While I'd love to take credit for this idea, it was actually someone on this forum years ago who made me aware of it. Just passing along info.
 

Attachments

  • IMG_2095.JPG
    IMG_2095.JPG
    343.1 KB · Views: 6
  • IMG_2096.JPG
    IMG_2096.JPG
    356.9 KB · Views: 7
  • IMG_2097.JPG
    IMG_2097.JPG
    313.4 KB · Views: 6
  • IMG_2098.JPG
    IMG_2098.JPG
    267.5 KB · Views: 6

offroad-anarchy

Registered User
Joined
Feb 6, 2026
Posts
36
Reaction score
48
Location
somewhere in UT, MT, ID or WY
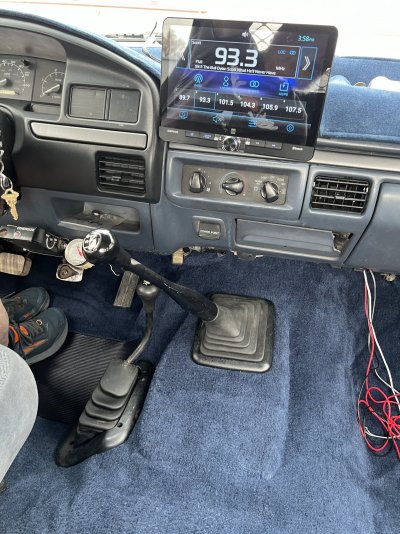
Wow, what a push that took to put this whole interior back together. Still working on recovering my seats, so haven't put the passenger and rear bench back in yet, but oh my is this thing way way way more of a pleasure to drive with all the sound deadening, head liner, felt, etc....

Not so sure I would do it again by myself, but now that its all done seems way worth it.

Anyway point is, the Dynamat type butyl foil sound deadeners are worth it if you take down to the shell. Replacing all the loose panels, missing screws, press buttons and all really take an old clunker and make it somewhere you want to be.

Again, thanks for all the tips in this thread and hints on how to get it done.

Cheers, Pete
 

Attachments

  • IMG_1009.JPG
    IMG_1009.JPG
    448.4 KB · Views: 10
  • IMG_1002.JPG
    IMG_1002.JPG
    390.9 KB · Views: 10
  • IMG_1004.JPG
    IMG_1004.JPG
    399 KB · Views: 10
  • IMG_1010.JPG
    IMG_1010.JPG
    324 KB · Views: 9
  • IMG_1012.JPG
    IMG_1012.JPG
    312.6 KB · Views: 9
Top