6.9 IDI fuel system build

8769bigred

Registered User
Joined
Nov 5, 2024
Posts
78
Reaction score
42
Location
Portland Oregon
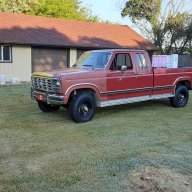
I’m rebuilding the fuel system on my 1986 F259 and will document the process here.


I will be starting at the tank and going to the injection pump.


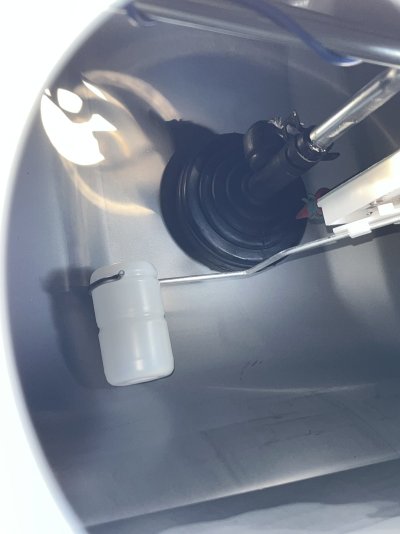
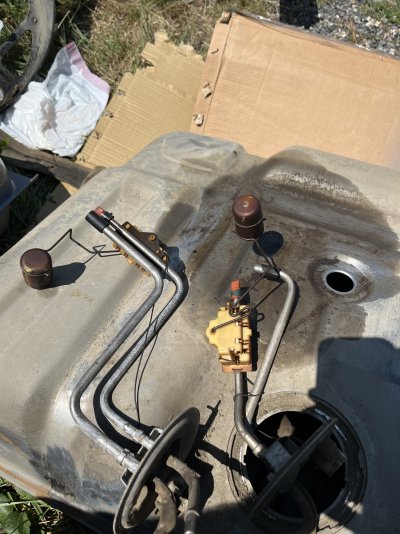
The first step will be to remove your fuel tanks. Once done you can get the sending units out.


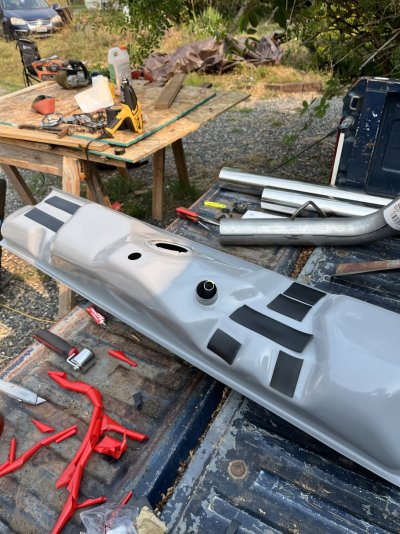
A word of caution on the fuel tanks. The filler neck vent tubes cannot be purchased. Be careful when removing them. I would recommend starting by unbolting the filler necks from the truck bed. Then remove the filler neck hose and vent hose. Now you can safely drop the tanks. Both my tanks had pin holes from rust so I got new ones.


There is a good seller on eBay, ‘trexautoparts’ and they have the senders and new suction bells.


I would highly recommend changing the suction bells with the sending units.


The vents can also be changed. Dorman offers a Vent and a seal. One you have assembled your tanks I opted to install some rubber strips in place of the ford paper like material that was rotting away. This should help protect the tanks where they sit against the frame and the straps.


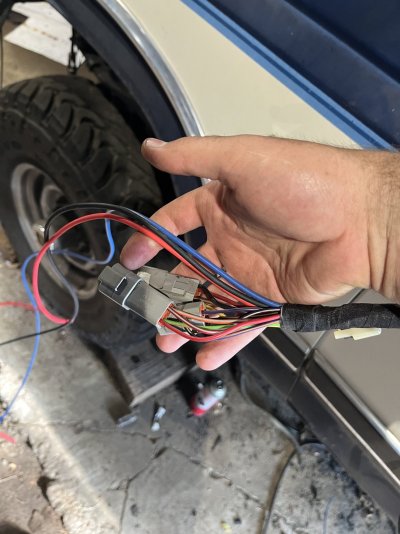
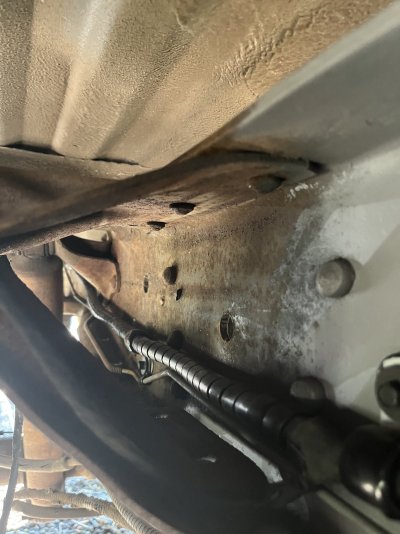
Another thing to consider while doing this project - it is a good time to make any updates or repairs to your wiring harness and brake line. It’s very easy to get to the harness with the tanks out.
 

Attachments

  • IMG_9499.jpeg
    IMG_9499.jpeg
    415.6 KB · Views: 5
  • IMG_9503.jpeg
    IMG_9503.jpeg
    210 KB · Views: 5

8769bigred

Registered User
Joined
Nov 5, 2024
Posts
78
Reaction score
42
Location
Portland Oregon
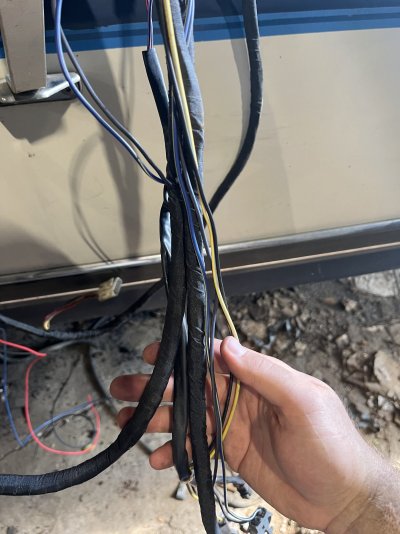
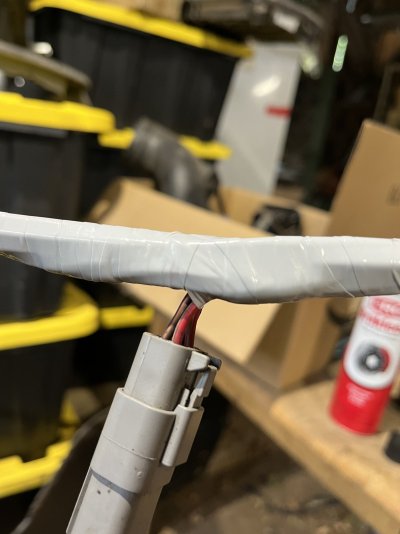
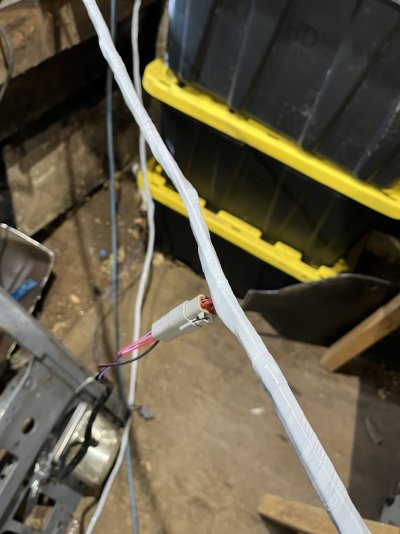
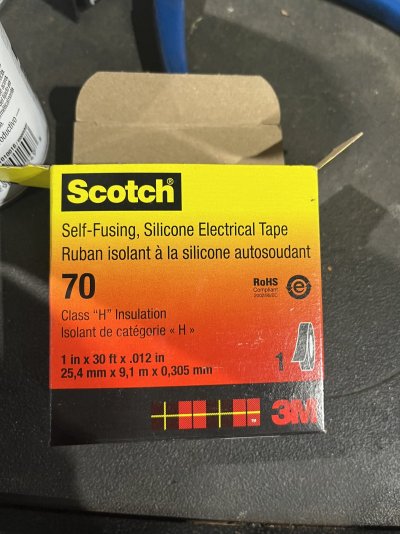
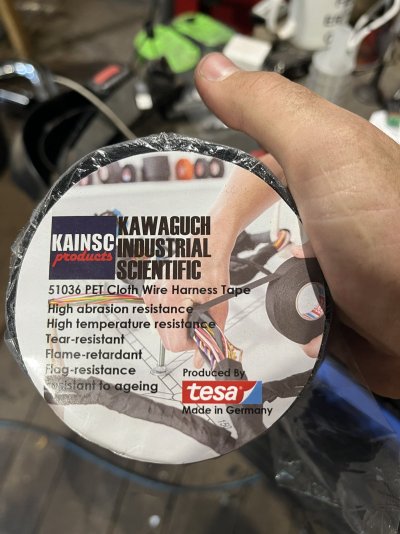
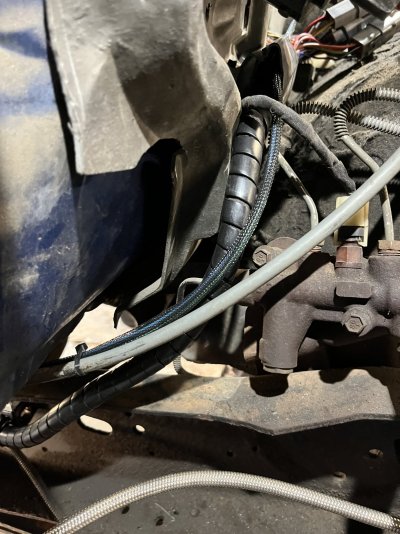
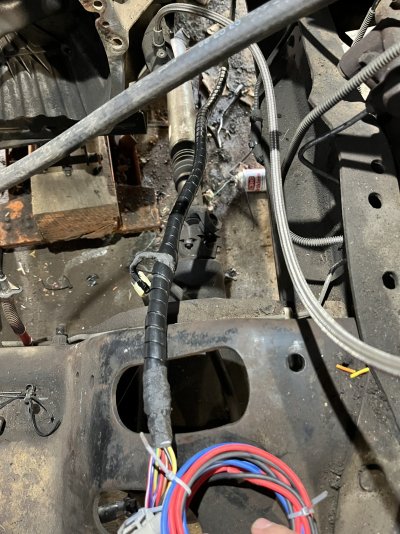
A brief note on the harness. If you do choose to fix it up here is what I did. Remove the harness from the cab , take all the old tape off. Once that’s done clean the wires and add what ever you want. I added 3 12AWG wires for trailer charge, trailer brakes and an extra just incase. I then wrapped with 3M scotch 70 self adhering silicon tape. After that I wrapped with Tesa tape giving excellent abrasion resistance. Route it to your liking. I used some hose wrap at the high abrasion points.
 

Attachments

  • IMG_9480.jpeg
    IMG_9480.jpeg
    259.1 KB · Views: 3
  • IMG_9479.jpeg
    IMG_9479.jpeg
    262.1 KB · Views: 3
  • IMG_9476.jpeg
    IMG_9476.jpeg
    184.9 KB · Views: 3
  • IMG_9475.jpeg
    IMG_9475.jpeg
    225.2 KB · Views: 3
  • IMG_9481.jpeg
    IMG_9481.jpeg
    330.8 KB · Views: 4
  • IMG_9482.jpeg
    IMG_9482.jpeg
    302 KB · Views: 4
  • IMG_9512.jpeg
    IMG_9512.jpeg
    344.5 KB · Views: 4
  • IMG_9508.jpeg
    IMG_9508.jpeg
    398.7 KB · Views: 3
  • IMG_9513.jpeg
    IMG_9513.jpeg
    257.9 KB · Views: 3

8769bigred

Registered User
Joined
Nov 5, 2024
Posts
78
Reaction score
42
Location
Portland Oregon
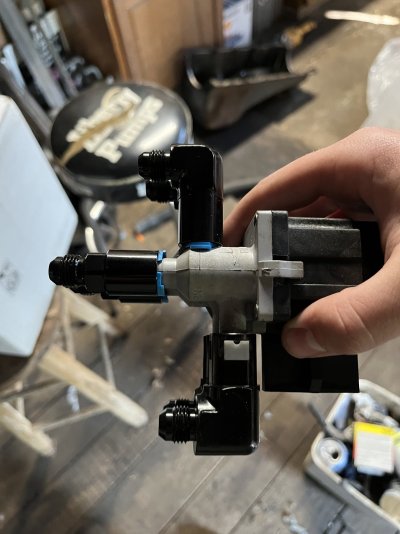
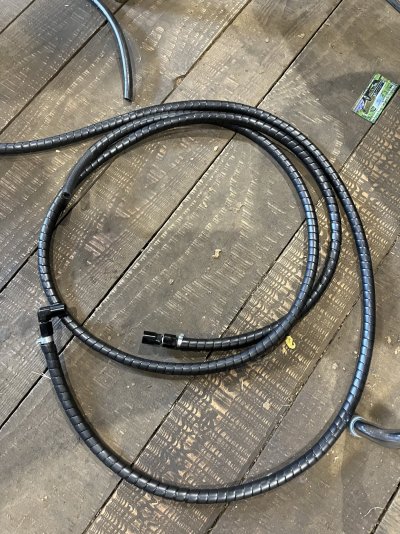
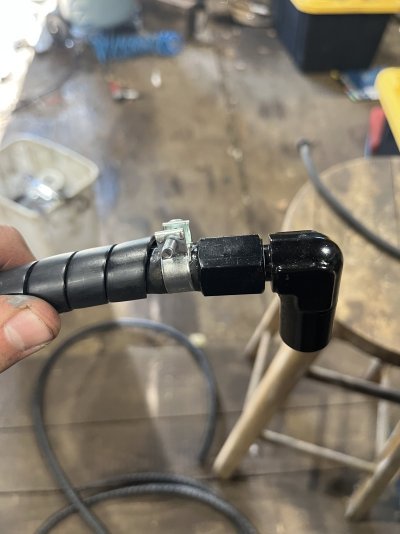
The next thing to decided on is hose. I wanted to go away from the factory nylon lines. I opted for 3/8 gates feed and return line. I then wrapped all the lines in hydraulic hose guard. I used metal SAE quick connect fittings with -6 AN flare. I then installed a -6 AN flare to 3/8 barb onto all the fittings. This allows you to have just one size of hose, clamp, and hose protector for the whole truck.


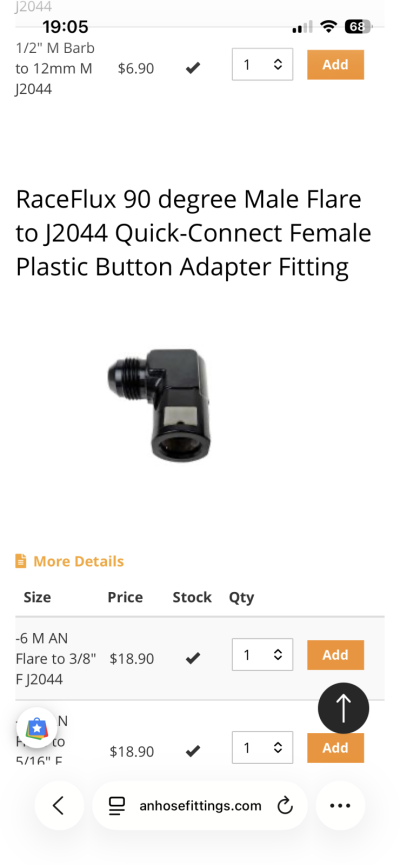
Take note that you will need to make sure the 90 degree quick connects on the fuel switching valve are a push button style. If you use any other style it is impossible to remove them without cutting the metal fitting in half.

all the QD fittings I got are ‘Evil Energy’ brand from Amazon. The push button fittings are from anhosefittings.com
 

Attachments

  • IMG_9490.jpeg
    IMG_9490.jpeg
    224 KB · Views: 6
  • IMG_9484.png
    IMG_9484.png
    185.8 KB · Views: 6
  • IMG_9529.jpeg
    IMG_9529.jpeg
    547.2 KB · Views: 6
Last edited:

8769bigred

Registered User
Joined
Nov 5, 2024
Posts
78
Reaction score
42
Location
Portland Oregon
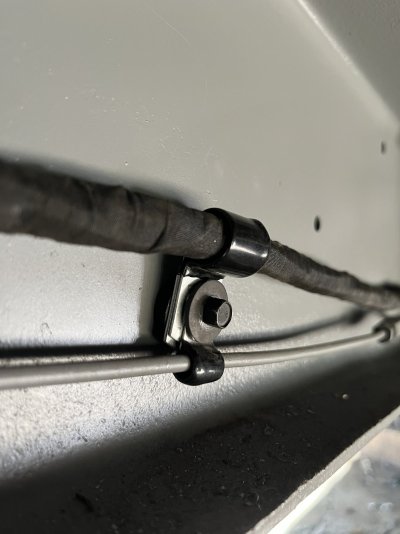
For hose clamps I used these band style that do not cut into the rubber. Constant tension would be a good way to go to. For hose securement you can use a 3/4 vinyl coated P clip and it fits perfectly over the hose guarding.

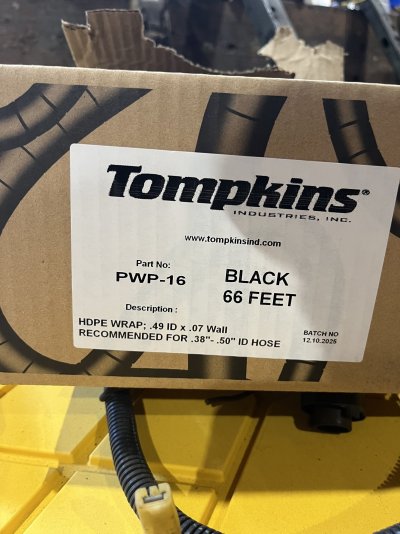
the hose guarding I used is a 16 mm ID and fits the hose nicely. I got it from my local hydraulics shop.
 

Attachments

  • IMG_9530.jpeg
    IMG_9530.jpeg
    201.5 KB · Views: 4
  • IMG_9531.jpeg
    IMG_9531.jpeg
    304 KB · Views: 4

8769bigred

Registered User
Joined
Nov 5, 2024
Posts
78
Reaction score
42
Location
Portland Oregon
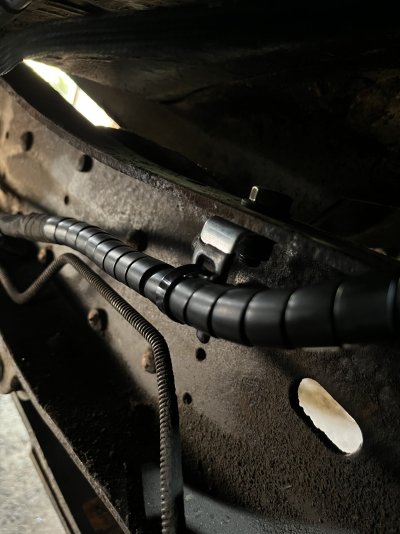
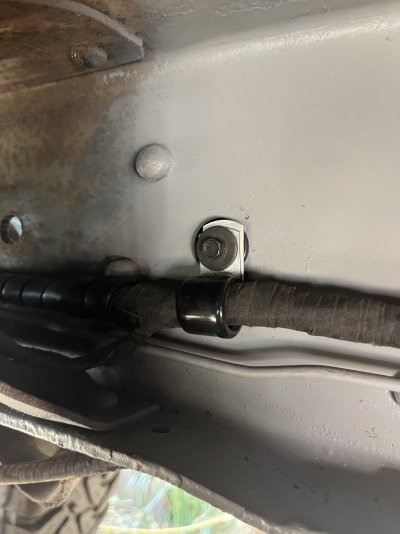
If you choose to do so you can upgrade your harness and brake line routing on the frame. I used some more p clips for this. A 1/4 inch washer behind the clips help suspend every thing to prevent rubbing. I also added hydraulic wrap to the harness in ‘high abrasion’ areas towards the rear of the truck
 

Attachments

  • IMG_9532.jpeg
    IMG_9532.jpeg
    199.6 KB · Views: 3
  • IMG_9533.jpeg
    IMG_9533.jpeg
    206.7 KB · Views: 3
  • IMG_9534.jpeg
    IMG_9534.jpeg
    281.3 KB · Views: 3

89Laredo

Underemployed
Joined
Nov 10, 2013
Posts
586
Reaction score
26
Location
Not Canada
I just bought a sender from Trex too. Looks pretty decent. Their stuff actually comes from MTS which is just down the road from them lol I talked to a guy at MTS and their price was $116 vs the 85 I paid at TRex, he said he lets the distributors sell cheaper so he doesnt have to deal with ecommerce and stuff.
I havent had the sender AND tank in front of me together yet, but Im kinda confused about the showerhead. They recommended it with the rear sender but my original one only had a round gauze filter, I think the pickup tube sits kinda horizontal along the bottom of the tank? Im sure it will make more sense once I get them together.
 

Olds64

Full Access Member
Joined
Nov 13, 2022
Posts
186
Reaction score
87
Location
Edmond, OK
The showerhead on your OE fuel sending unit may have deteriorated and be sitting on the bottom of your tank.

When I did the FSUs on my Bullnose truck I replaced the showerheads, but they didn't last. I recently had to disassemble the fuel tanks again to install a Duralift fuel pump. The FSUs had only been in the tank about 18 months and the screens fell out of the showerheads. I replaced them with a length of 3/8" fuel line, compression fittings and fuel straining socks I found on Amazon.
 

8769bigred

Registered User
Joined
Nov 5, 2024
Posts
78
Reaction score
42
Location
Portland Oregon
@Olds64 sad to hear your parts did not last very long I hope mine have a better life. When I asked Trex on eBay where these were made he said Mexico. He also said the factory was a OEM supplier for blue bird busses and other major brands. I wish they were USA Made but it’s 2026.
 

8769bigred

Registered User
Joined
Nov 5, 2024
Posts
78
Reaction score
42
Location
Portland Oregon
I just bought a sender from Trex too. Looks pretty decent. Their stuff actually comes from MTS which is just down the road from them lol I talked to a guy at MTS and their price was $116 vs the 85 I paid at TRex, he said he lets the distributors sell cheaper so he doesnt have to deal with ecommerce and stuff.
I havent had the sender AND tank in front of me together yet, but Im kinda confused about the showerhead. They recommended it with the rear sender but my original one only had a round gauze filter, I think the pickup tube sits kinda horizontal along the bottom of the tank? Im sure it will make more sense once I get them together.
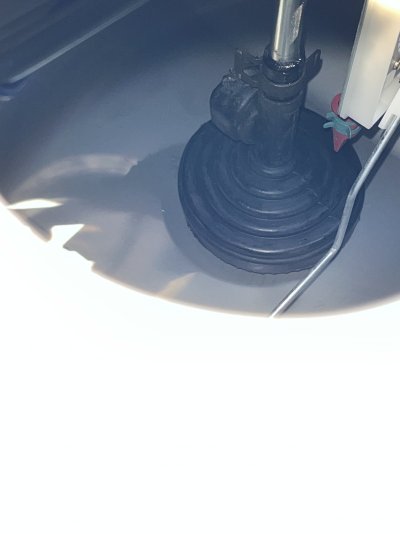
The suction bell will sit flat against the bottom of the tank once you get it installed. The suction bell has little stand off feet on it so that it cannot bottom out against the tank. When I was installing mine I tried several different positions and made sure to verify it was not bottomed out.
 

Attachments

  • IMG_9502.jpeg
    IMG_9502.jpeg
    141.1 KB · Views: 3

8769bigred

Registered User
Joined
Nov 5, 2024
Posts
78
Reaction score
42
Location
Portland Oregon
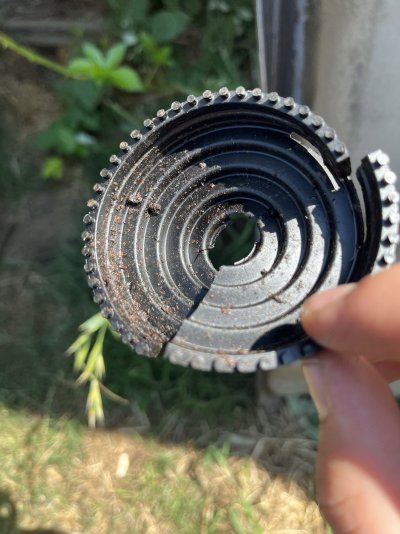
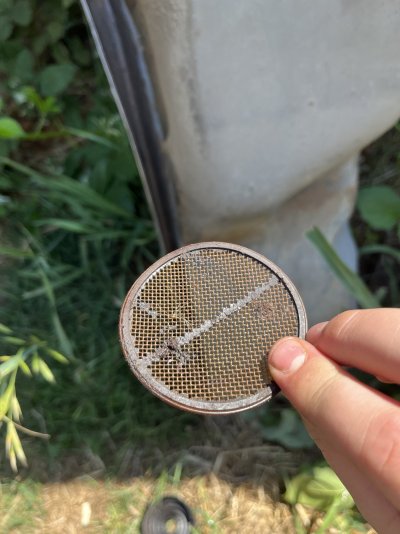
Both my old bells had fallen off the pickup pipe. They were also packed with crap. 40 years takes its toll

Seeing how much crap was getting by really suggests any one reading should be running a pre filter regardless of what type of pump you have. I’m going to be installing one and will talk about it later.
 

Attachments

  • IMG_9539.jpeg
    IMG_9539.jpeg
    297.9 KB · Views: 3
  • IMG_9540.jpeg
    IMG_9540.jpeg
    246.2 KB · Views: 3
  • IMG_9538.jpeg
    IMG_9538.jpeg
    378.9 KB · Views: 3

89Laredo

Underemployed
Joined
Nov 10, 2013
Posts
586
Reaction score
26
Location
Not Canada
The suction bell will sit flat against the bottom of the tank once you get it installed. The suction bell has little stand off feet on it so that it cannot bottom out against the tank. When I was installing mine I tried several different positions and made sure to verify it was not bottomed out.

Both my old bells had fallen off the pickup pipe. They were also packed with crap. 40 years takes its toll

Seeing how much crap was getting by really suggests any one reading should be running a pre filter regardless of what type of pump you have. I’m going to be installing one and will talk about it later.
Both of those senders are different than what I have.
You must be registered for see images attach


And my filter looked like this
You must be registered for see images


So we will see what happens when I get to that point...


Not trying to hijack your thread, just in the middle of doing the same thing but a different way.
 
Last edited:

Forum statistics

Threads
93,033
Posts
1,156,293
Members
26,629
Latest member
Clydeskeeper

Members online

Top