79jasper
Chickenhawk
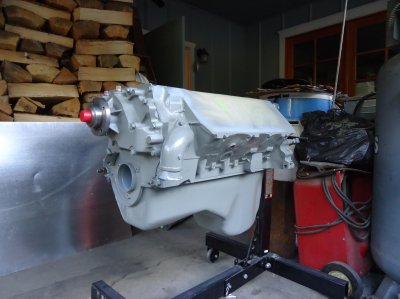
Hard to tell in the pics.
Are those the correct freeze plugs? Jw
Sent from my SAMSUNG-SM-G935A using Tapatalk
Are those the correct freeze plugs? Jw
Sent from my SAMSUNG-SM-G935A using Tapatalk
That sounds like it should look nice. I used dupont engine paint with ceramic in it. It dries quickly and seems to be one of the better paints I have used. the paint seemed much more resistant to abrasion. I know with some other spray paints they seem real soft for a while until they fully cure. That does not seem to be the case for this paint.If everything goes to plan I'm doing black as a base color and doing accessories and pulleys in satin Nickel. I plan on leaving the intake bare Al. Valve covers nickel. So there should be plenty of pop if it all works out. If it turns out I don't like the nickel, next option will be turn those bits red similar to what leeland did.