Sparks-IDI
Registered User
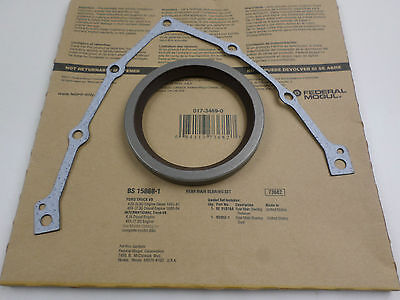
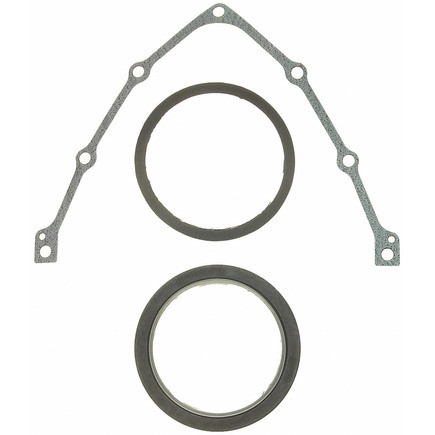
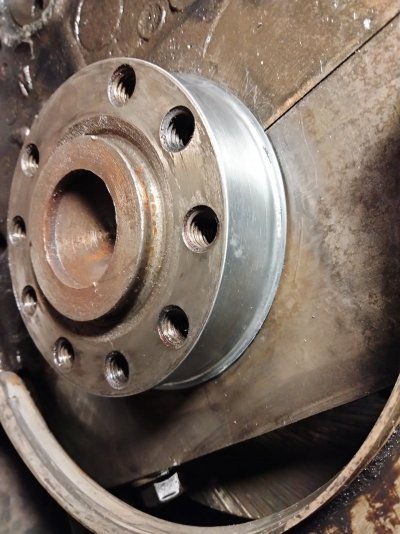
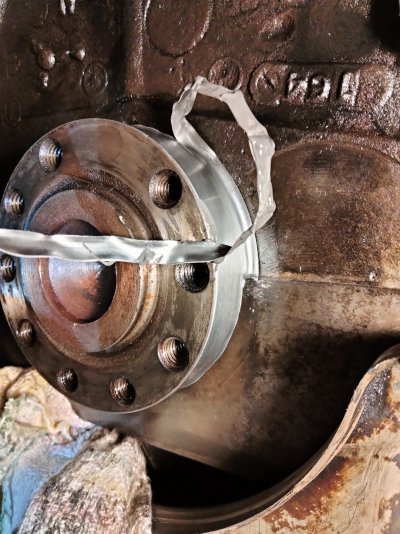
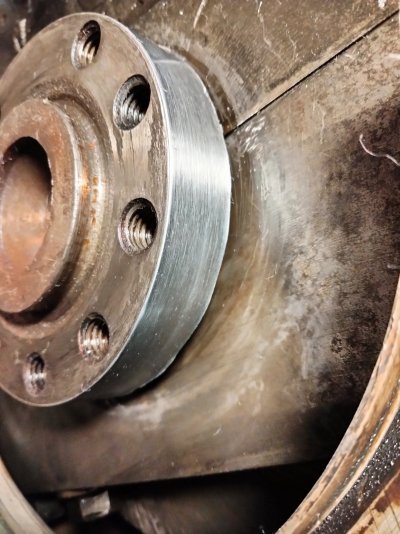
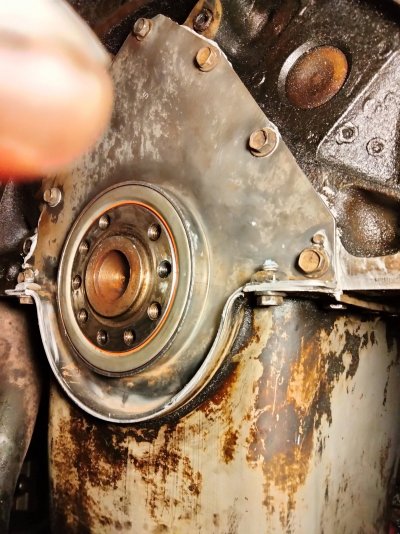
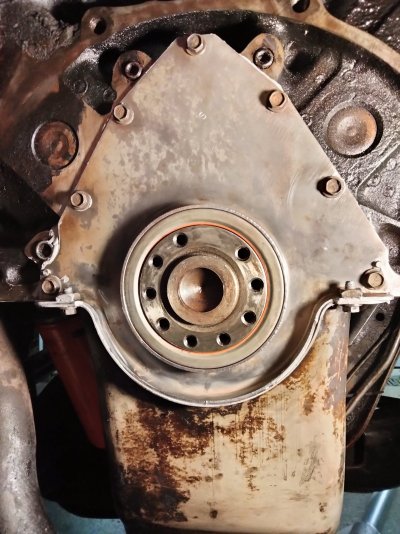
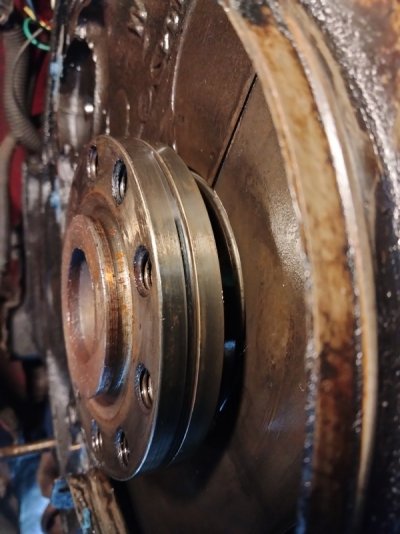
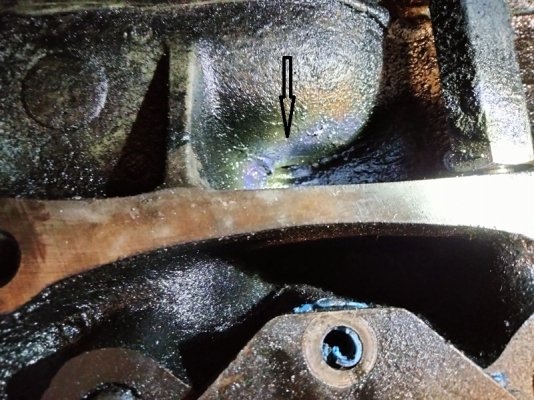
Ok. Finally pulled tranny to rebuild and fix significant oil leak from rear main. A quart of oil every week. I pulled seal mounting plate off and saw the crankshaft seal surface. What is with that groove?? That can't be as designed. No wonder it was leaking cause that spot is about where the seal lip would be riding on. I can't belief it. I am getting ready today to install a speedy sleeve to fix that problem. I'm just asking you all to confirm my actions or is there some real reason that groove is there, or what am I missing. It makes no sense to me.
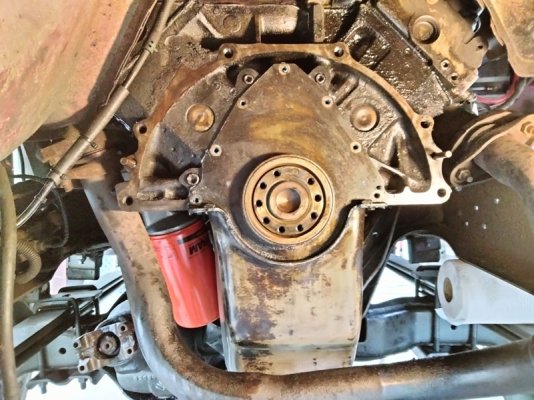
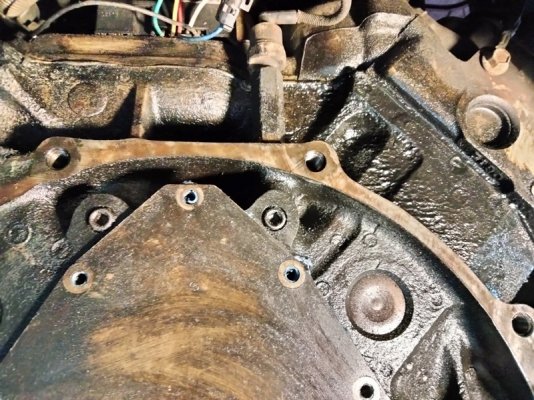
Also, there is also some kind of oil leak up top by the right cylinder head. Not sure where it is coming from, but I will clean all that gunk up and watch to see if I can pinpoint its origin. I am also wondering about what looks like an opening at top center of the block. Or is that a casting mark. That area looks wet with oil also. Is that an opening, and if so, where does it lead to? It could only lead in to the valley area, right? I really need to rebuild an engine to better educate myself on these engines and how they are plumbed. Meantime I am looking to you folks for some clarification.
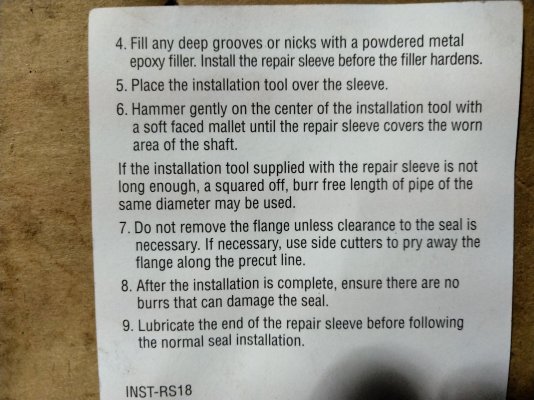
Also, there is also some kind of oil leak up top by the right cylinder head. Not sure where it is coming from, but I will clean all that gunk up and watch to see if I can pinpoint its origin. I am also wondering about what looks like an opening at top center of the block. Or is that a casting mark. That area looks wet with oil also. Is that an opening, and if so, where does it lead to? It could only lead in to the valley area, right? I really need to rebuild an engine to better educate myself on these engines and how they are plumbed. Meantime I am looking to you folks for some clarification.
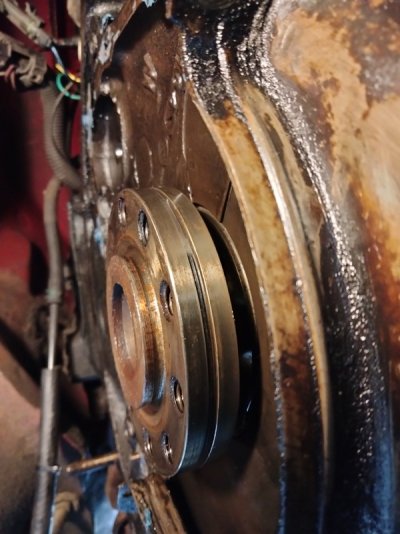
 That way there is a hard support behind the thin sleeve. I think I'd try it before replacing the crank!