Lines at Inj. Pump question

yotekiller

Full Access Member
Joined
Dec 27, 2017
Posts
139
Reaction score
22
Location
Va.
They go on both ends of that line. There's also one in the line from the lift pump to the filter. It's at the top where the line goes into the brass fitting. If you have the steel return line off the top of your pump, then there's one at each end of that too. Those were only used on 6.9s though.
yeah i do not see an olive on the steel line from the filter to the inj. pump at all, i am doing a hard line delete on that as well. if i can get this return line back on.. the return port on the filter head is blocked with a npt plug, therefore i have a 90deg cap on #1 cyl. and i have a short pc of return line with it blocked with a bolt and clamp, not sure if i can use one of the old 90caps and run that over to the #8cyl and put one of the old caps on it so i can hook it up.. any thoughts im at a standstill til i figure that out. i would prefer that return off the #1cyl go back to the tank that short pc of hose i have on there(truck was like that when i got it) is awfully damp looking

Thanks
 

IDIBRONCO

IDIBRONCO
Joined
Feb 5, 2010
Posts
12,302
Reaction score
11,011
Location
edmond, ks
The olives are underneath the huts on both ends of that line. As time goes on, they tend to get stuck inside the nuts and you have to dig them out if you want to remove/replace them.
 

yotekiller

Full Access Member
Joined
Dec 27, 2017
Posts
139
Reaction score
22
Location
Va.
The olives are underneath the huts on both ends of that line. As time goes on, they tend to get stuck inside the nuts and you have to dig them out if you want to remove/replace them.
thanks a bunch i appreciate it.. when i got this truck a few yrs back i only replaced the return line itself as i didn't feel comfortable messing with anything else..
I have the return and caps on the drivers side but had a storm brew up and ran me inside, the caps went on except the #2 and #8 on each end was a booger and i lubed the heck out of them and they finally snapped on, i thought maybe i had cut my line to short but that wasn't the case hopefully i do not end up with a leak..
Thanks for the help IDIBRONCO
 

yotekiller

Full Access Member
Joined
Dec 27, 2017
Posts
139
Reaction score
22
Location
Va.
i replaced the line going from the barbed 90 on the inj. pump as well, i keep different size fuel line on hand, i took the check valve out and inspected it, it would seem to be working and not clogged as well,

so i know the check valve is working on the top of the inj. pump, so that has me thinking its draining back thru the fuel supply now take in mind i have not done the hard line delete yet that i got from Russ.
Is there another check valve in that 90 on the metal line at the filter where it goes to the inj. pump? i also have a vacuum switch on order pretty sure its seeping fuel thru the switch.. one thing at a time i guess.
 

BeastMaster

Full Access Member
Joined
Feb 7, 2017
Posts
341
Reaction score
285
Location
Orange, California
yeah the way that controller is set up was not good, simple went out the window and they complicated things, book smarts won out instead of common sense when it came to design and functionality .
Exactly why I replaced mine with the White-Rodgers contactor and a manual momentary spring-return toggle switch.

Wes, over at Classic Diesel Designs is hip to this too.

Do keep the resistor...that metal spring thingy connected to the existing relay, in the circuit, though.

It performs a current limiting function to the glow plugs.

Without it, the plugs will have a shortened life.

When using the manual setup, do pay attention to your voltmeter. Activation of a healthy set of glow plugs place a 200 amp load on the battery and produce a quite noticeable perturbance of the battery voltage. Note it, expect it. Especially when you release. Then start.

Unless you are really cold and feel you need the batteries to power both the glow plugs and the starter, simultaneously. I don't like to do that. It's asking a helluva lot from the battery to do both at the same time.

I don't hold the switch on for long though. I pulse it like the original one did. You will get the feel for it according to temperature and how long since the engine was last running and how much effort to start. Remember you only have to have that one little hot spot to ignite the fuel, and you may have to help a bit even after the engine catches until it warms up enough to make it on its own. The engine will talk to you in its own way. When you learn to understand what it's saying, you will now know.

Now that I am manual, I get to make that choice.

Haven't had glow plug problems since.

I was getting a bunch of relays that were failing closed. All brands I tried were failing this way. I gave up and used a different relay.
 

yotekiller

Full Access Member
Joined
Dec 27, 2017
Posts
139
Reaction score
22
Location
Va.
Exactly why I replaced mine with the White-Rodgers contactor and a manual momentary spring-return toggle switch.

Wes, over at Classic Diesel Designs is hip to this too.

Do keep the resistor...that metal spring thingy connected to the existing relay, in the circuit, though.

It performs a current limiting function to the glow plugs.

Without it, the plugs will have a shortened life.

When using the manual setup, do pay attention to your voltmeter. Activation of a healthy set of glow plugs place a 200 amp load on the battery and produce a quite noticeable perturbance of the battery voltage. Note it, expect it. Especially when you release. Then start.

Unless you are really cold and feel you need the batteries to power both the glow plugs and the starter, simultaneously. I don't like to do that. It's asking a helluva lot from the battery to do both at the same time.

I don't hold the switch on for long though. I pulse it like the original one did. You will get the feel for it according to temperature and how long since the engine was last running and how much effort to start. Remember you only have to have that one little hot spot to ignite the fuel, and you may have to help a bit even after the engine catches until it warms up enough to make it on its own. The engine will talk to you in its own way. When you learn to understand what it's saying, you will now know.

Now that I am manual, I get to make that choice.

Haven't had glow plug problems since.

I was getting a bunch of relays that were failing closed. All brands I tried were failing this way. I gave up and used a different relay.
so far i have not made my way to the controller, been working on return lines etc and trying to figure out why fuel will not stay in my fuel filter..
i have gotten the new GP's in and have been mulling over a manual GP switch i am sure it is not that hard to do, i am not that great when it comes to wiring, my achilles hill so to speak lol..
for here in winter time i can plug up the block heater, we can get pretty cold here but im sure once i get this priming issue figured out starting won't be a problem..
I did take notice of those White Rodgers relays but wasn't sure how they would mount and them laying down like that unless they can be mounted like the regular relay..
 

yotekiller

Full Access Member
Joined
Dec 27, 2017
Posts
139
Reaction score
22
Location
Va.
seeing how this has to do with the lines etc.. i will post up here..
Got the 1#cyl line broke loose, new cap on etc, was able to get trucked fired off then noticed #8cyl Injector bubbling at the bottom of the injector, i swear can't win for losing, never have i had any leaks with inj. til today had to be where i was bleeding the lines..
What size wrench and how dang hard is it to fix this? I have the copper washers as i got the return kit from Russ..
thanks guys..
 

ih8minimumwage

Full Access Member
Joined
Jun 29, 2011
Posts
227
Reaction score
112
Location
Eugene, OR
1" for the hex on the injectors. Might try to tighten it down and see if it seats again, may have just come a little loose when loosening the hard line.
 

Big Bart

Tow&Slow
Joined
Dec 22, 2020
Posts
1,481
Reaction score
951
Location
Newport Beach, CA
seeing how this has to do with the lines etc.. i will post up here..
Got the 1#cyl line broke loose, new cap on etc, was able to get trucked fired off then noticed #8cyl Injector bubbling at the bottom of the injector, i swear can't win for losing, never have i had any leaks with inj. til today had to be where i was bleeding the lines..
What size wrench and how dang hard is it to fix this? I have the copper washers as i got the return kit from Russ..
thanks guys..
It is easy to do it, this is not a uncommon issue.
1) Make sure you get the old copper washer out.(Look to make sure PO did not leave a second one in there.)
2) Remove the corrosponding glow plug. Use compressed air at say 50psi, blow in glow plug hole while cleaning out the injector hole. That will blow most any crud out of the hole away from the engine. Many use a gun barrel brush. Look down and be sure it’s clean. A bore scope helps see down there. Just be careful not to use the brush center on the sealing surface, just the brush part.
3) Use a little anti-seize to keep the néw washer on the injector. Use a little on the injector threads. Torque down the injector.
4) Replace the glow plug and lines.
5) Test with soap and water for a leak.
6) If it still leaks there is a surfacing tool made to smooth out the surface on the head the copper gasket seals against.
 

yotekiller

Full Access Member
Joined
Dec 27, 2017
Posts
139
Reaction score
22
Location
Va.
It is easy to do it, this is not a uncommon issue.
1) Make sure you get the old copper washer out.(Look to make sure PO did not leave a second one in there.)
2) Remove the corrosponding glow plug. Use compressed air at say 50psi, blow in glow plug hole while cleaning out the injector hole. That will blow most any crud out of the hole away from the engine. Many use a gun barrel brush. Look down and be sure it’s clean. A bore scope helps see down there. Just be careful not to use the brush center on the sealing surface, just the brush part.
3) Use a little anti-seize to keep the néw washer on the injector. Use a little on the injector threads. Torque down the injector.
4) Replace the glow plug and lines.
5) Test with soap and water for a leak.
6) If it still leaks there is a surfacing tool made to smooth out the surface on the head the copper gasket seals against.
Thanks Big Bart
as soon as i saw that bubbling i went crap lol, im gonna get it bled back down and moved today to a spot where its not blocking another truck i have that needs a shop visit, never fails always something lol.
i gotta get some anti seize compound as well before i pull that inj. i am gonna spray PB blaster around it as well just in case.
 

Duke57

Full Access Member
Joined
Jul 30, 2017
Posts
247
Reaction score
68
Location
Florida
Exactly why I replaced mine with the White-Rodgers contactor and a manual momentary spring-return toggle switch.

Wes, over at Classic Diesel Designs is hip to this too.

Do keep the resistor...that metal spring thingy connected to the existing relay, in the circuit, though.

It performs a current limiting function to the glow plugs.

Without it, the plugs will have a shortened life.

When using the manual setup, do pay attention to your voltmeter. Activation of a healthy set of glow plugs place a 200 amp load on the battery and produce a quite noticeable perturbance of the battery voltage. Note it, expect it. Especially when you release. Then start.

Unless you are really cold and feel you need the batteries to power both the glow plugs and the starter, simultaneously. I don't like to do that. It's asking a helluva lot from the battery to do both at the same time.

I don't hold the switch on for long though. I pulse it like the original one did. You will get the feel for it according to temperature and how long since the engine was last running and how much effort to start. Remember you only have to have that one little hot spot to ignite the fuel, and you may have to help a bit even after the engine catches until it warms up enough to make it on its own. The engine will talk to you in its own way. When you learn to understand what it's saying, you will now know.

Now that I am manual, I get to make that choice.

Haven't had glow plug problems since.

I was getting a bunch of relays that were failing closed. All brands I tried were failing this way. I gave up and used a different relay.
That metal springy thing is a shunt I think and the electronic circuit measures the amps going through it and as the glow plugs warm up the resistance goes up and the amps decrease and at a certain set point, the controller shuts off. I may be wrong but that is what an engineer minded person told me.
 

Big Bart

Tow&Slow
Joined
Dec 22, 2020
Posts
1,481
Reaction score
951
Location
Newport Beach, CA
That metal springy thing is a shunt I think and the electronic circuit measures the amps going through it and as the glow plugs warm up the resistance goes up and the amps decrease and at a certain set point, the controller shuts off. I may be wrong but that is what an engineer minded person told me.
The controller is a bit of a mystery to how it works exactly and to what specs it is set at.(Part solid state computer (Bottom half), part solenoid (Top half), and one part voodoo.:cool:) But it was an improvement over the 6.9 system that had some short comings.

One part that makes it frustrating for many members to diagnose the 7.3 controller is the bottom half is looking at over all resistance of the GP side of the system as a way to determine GP on time but also when not to heat the the GP’s for safety reasons. That resistance measurement mentioned above includes the wiring to and from and connectors at each of the GP’s. Adding to our woes the GP wiring is getting old and failing in many of our trucks and can be your issue. The power supply side wiring harness is known for getting corroded and burning the harness connector and wiring. So just putting in new GP’s may not fix your issue. A néw GP controller/relay may not fix your issue. It could be a combo of the three.

Once you have 3 or 4 dead glow plugs the system sees a lack of overall resistance and turns on the WTS light for a second and then just stops the GP heat cycle. (WTS light goes out after 1 sec.) It is a safety feature and forces you to have the system checked out. But if you have bad GP wiring or connectors to the GP‘s it can look like a dead GP. (Bad GP = no resistance.) Thus a short in the wire or poor connector can cause the controller to think it is the same situation.

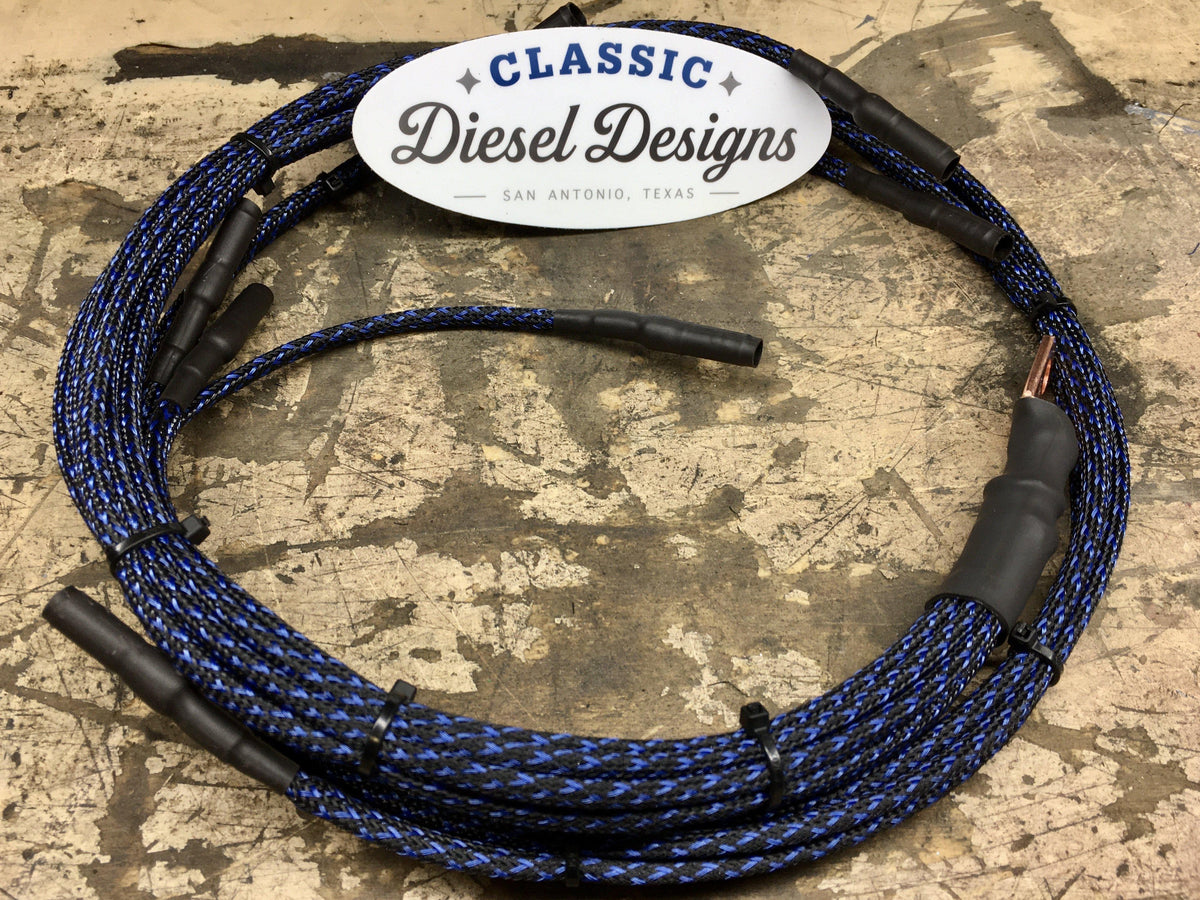
So remember the overall health of the entire GP system is considered by the GP controller. Ford no longer makes the GP wiring harness but fortunately Classic Diesel Designs does. If your GP wiring harnesses (Left and right banks) are old and failing consider using new wiring harnesses on your next repair.


yotekiller

Full Access Member
Joined
Dec 27, 2017
Posts
139
Reaction score
22
Location
Va.
I am reordering a new batch of ZD9's as a back up and with the current supply chain bologna going on.. better to have them on hand than to not be able to get them at all.
 

Forum statistics

Threads
91,259
Posts
1,129,347
Members
24,083
Latest member
Bsthomas21

Members online

Top