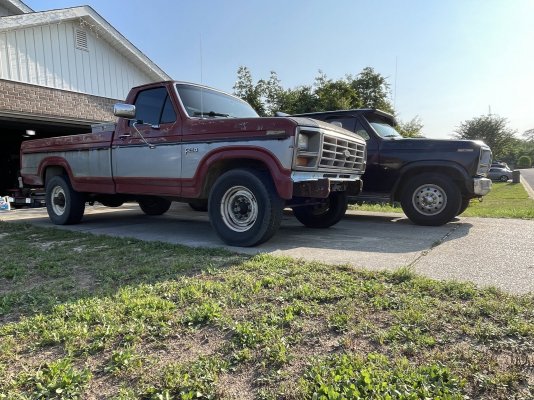
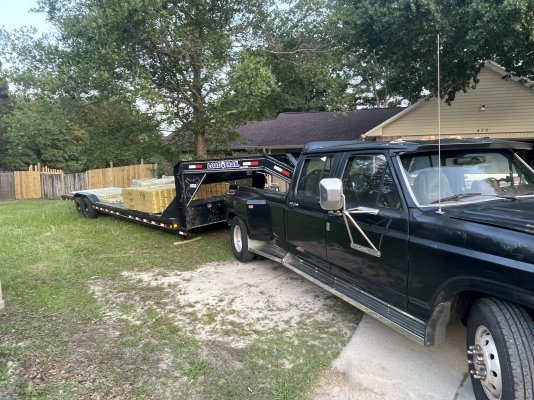
I removed the high capacity organic helper springs from my utility trailer today....
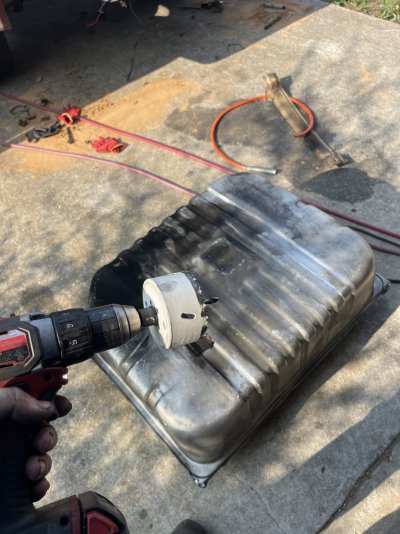
I was all set to flip the axle because it must have been bottoming out for them to wedge those between the axle and frame right??? Front leaf bolt is seized into the spring solid. Several spirited hits with a 5lb sledge didn't budge it. I spent an hour or so fighting it before giving up for the day. Pulled the blocks out and set the trailer down and there's still 2" between the frame and axle.... It really could just be because the springs are all seized to the bolts though. There's probably 1500+ pounds of scrap in the trailer so it's not empty. I'll have to drill out that shackle bolt at some point but not today.
Ever the optimist
You must be registered for see images attach
I was all set to flip the axle because it must have been bottoming out for them to wedge those between the axle and frame right??? Front leaf bolt is seized into the spring solid. Several spirited hits with a 5lb sledge didn't budge it. I spent an hour or so fighting it before giving up for the day. Pulled the blocks out and set the trailer down and there's still 2" between the frame and axle.... It really could just be because the springs are all seized to the bolts though. There's probably 1500+ pounds of scrap in the trailer so it's not empty. I'll have to drill out that shackle bolt at some point but not today.
AND if it goes wry, you'll get to buy all sorts of new stuff for your truck!
Ever the optimist
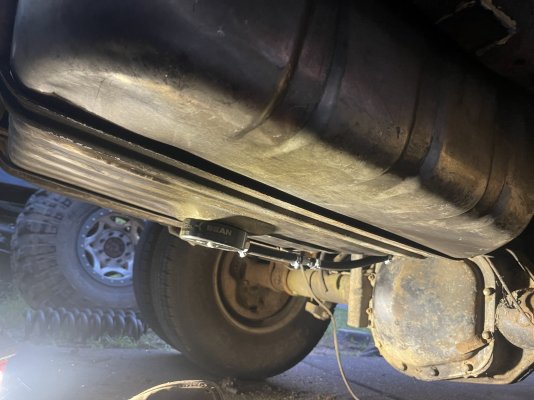
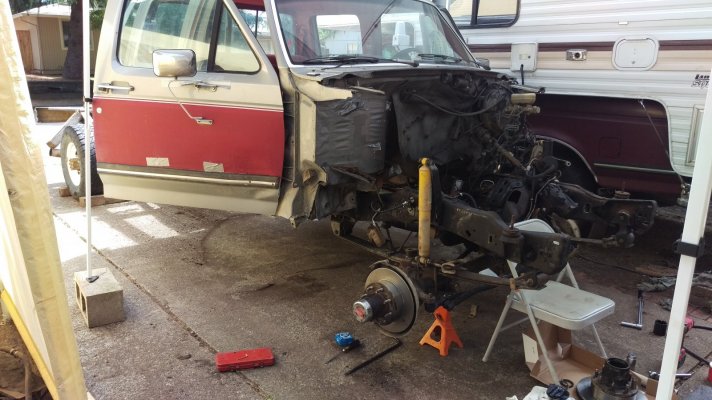
") They also came out with just a little persuasion, torch not required, and they DO have the hex body... hmm. I don't have two 7/16 bolts of the right length, but (at least until I get to the hardware store) I can just turn the studs around and use them as bolts to trial-fit everything!
They also came out with just a little persuasion, torch not required, and they DO have the hex body... hmm. I don't have two 7/16 bolts of the right length, but (at least until I get to the hardware store) I can just turn the studs around and use them as bolts to trial-fit everything!